How to Thaw Frozen Pipes: Fix Your Fridge, Main Line, and Underground Lines
No water from your taps or fridge? Frozen pipes are likely the culprit, and they can burst if not handled right.
We will cover thawing your refrigerator water line, your main supply pipe, and buried underground pipes, and the best ways to prevent freezing.
I’ve thawed more pipes than I can count on service calls. Thaw slow with low heat to avoid cracks.
First, Know You Have a Frozen Pipe
You turn the faucet handle. Nothing happens. Maybe you get a sad little trickle. That’s your first and biggest clue.
The signs are usually obvious if you know what to look for. Here is the short list:
- A faucet gives only a trickle of water or nothing at all.
- You see visible frost or ice on a pipe, especially under a sink or in an unheated basement.
- A toilet flushes but won’t refill in the tank.
- A strange, musty odor comes from a drain. This can signal a frozen pipe creating a blockage in the drain vent system.
Now you need to find the exact spot. Use the “troubleshooting tap” method.
Start at the frozen faucet. Open it. Then work your way back along the pipe path toward your main shut-off valve. Feel the pipe. Look for sections that are much colder than others. The freeze is likely at the coldest point, often where the pipe is exposed to an outside wall or a draft.
Check other fixtures too. This tells you if it’s one pipe or a bigger problem.
Red Flag Troubleshooting Guide
Use these specific symptoms to narrow down the issue.
- No water at only one faucet: The freeze is isolated to the supply line for that fixture. Good news. It’s a smaller job.
- Gurgling or banging sounds in the walls: This is trapped air or water pressure building behind an ice blockage. A clear warning sign.
- A toilet that flushes but won’t refill: The small supply line feeding the toilet tank is frozen. Check the line where it comes out of the wall.
- An unexplained drop in water pressure throughout the house: This points to a freeze in a main supply line, like where the pipe enters the house. This is a more urgent situation.
- A musty smell from drains: Often overlooked. A frozen pipe can block a plumbing vent on your roof, causing sewer gases to back up into your home through drain traps.
Your Step-by-Step Thawing Playbook (The Safe Way)
You found the freeze. Now, do not grab a blowtorch. Rushing this is how you turn a thaw into a flood.
The golden rule is simple: always open the faucet the frozen pipe supplies before you apply any heat. Thawing ice creates steam and pressure. The open faucet gives that pressure a safe escape route. It’s also important to choose the right pipes and install them properly to prevent freezing.
Safe Heat Sources (In Order of Preference)
Your goal is gentle, even warmth. These are the tools I use on service calls and at home.
- Hairdryer: The best and safest DIY tool. Move it steadily back and forth along the pipe.
- Heat Lamp or Infrared Heater: Great for open areas like basements. Keep it a safe distance from the pipe and anything flammable.
- Portable Space Heater: Use it to warm the general area around the frozen pipe, not the pipe directly. Never leave it unattended.
- Towels Soaked in Hot Water: A low-tech option. Wrap them around the pipe. Re-soak as they cool.
DO NOT use an open flame. No propane torches, no kerosene heaters. The risk of fire is huge, and you can easily overheat a copper or plastic pipe, causing it to fail instantly. I’ve seen the scorch marks and the leaks from DIYers who tried it. It’s not worth it.
The Thawing Process
This part is critical for preventing a burst. You must thaw in the right direction.
Start applying heat at the section of pipe closest to the faucet. Then slowly work your way back toward the suspected location of the ice blockage.
Thawing from the faucet backward lets melting water and steam escape through the open tap. If you start heating the middle of the ice block first, you trap expanding water between two plugs of ice. That pressure has nowhere to go except to split the pipe.
Listen at the open faucet. You’ll hear hissing or spitting as the ice melts and water starts to flow. Once you have a steady stream, you’re done.
The Most Important Tool Isn’t a Tool
It’s patience. This can take a while. A hairdryer on a 10-foot section of frozen pipe in a cold crawlspace might need an hour. Slow and steady wins. Rushing with high heat cracks pipes. If you’re not comfortable, or if the freeze is in a wall, call a pro. A service call is cheaper than repairing water damage.
How Do You Thaw Frozen Refrigerator Water Pipes?
That thin plastic line to your fridge is a prime target for freezing. I see it all the time on service calls, especially in homes with a refrigerator on an exterior wall or sitting in an unheated garage.
My garage fridge line froze solid two winters ago. It’s a frustrating but usually simple fix if you act carefully.
Step 1: Shut Off Water and Power
Your first move is always to stop the water and electricity. Find the small saddle valve on the water pipe feeding the fridge, usually under the sink or in the basement, and turn it clockwise until it stops. If you have a standard shutoff valve behind the fridge, turn that off instead.
After shutting off the water, unplug the refrigerator from the wall outlet. This is a critical safety step before you move the appliance or apply any heat near it.
Step 2: Locate the Line and the Freeze
Carefully pull the refrigerator out from the wall. You’re looking for a flexible, usually 1/4-inch plastic tube. Trace it from the back of the fridge to where it connects to the house water supply. Make sure to properly connect the fridge water line.
The frozen spot is most often where the line runs near a cold floor, an exterior wall, or through an uninsulated cabinet. You’ll often feel a solid, icy section, or notice the line is unusually stiff.
Step 3: Apply Gentle, Controlled Heat
Never use an open flame like a propane torch. You will melt the line and start a fire. A standard hairdryer is your best tool.
- Set the hairdryer to low or medium heat.
- Hold it several inches away from the plastic line.
- Move it back and forth along the frozen section.
- Be patient. This can take 10 to 20 minutes.
A heating pad wrapped around the pipe also works well. Keep the heat gentle and even. If you have access to the space behind the wall, you can also aim a space heater at that general area to warm the air.
Step 4: Restore Water and Check for Leaks
Once the line is flexible again and you suspect the ice is gone, go to your shutoff valve. Turn the water back on very slowly. Listen for the sound of water flowing into the line.
Immediately check the entire length of the plastic tube and every connection point for any sign of dripping or spraying. A freeze can create a small crack or weaken a fitting.
Only after you confirm there are no leaks for a minute or two should you plug the refrigerator back in. If your ice maker was affected, it may take a few hours to cycle and make ice again.
A quick tip: if the fridge dispenser works but the ice maker doesn’t, the freeze might be in the smaller copper line inside the freezer door. You can often thaw that by simply turning off the ice maker and letting the freezer air melt it overnight.
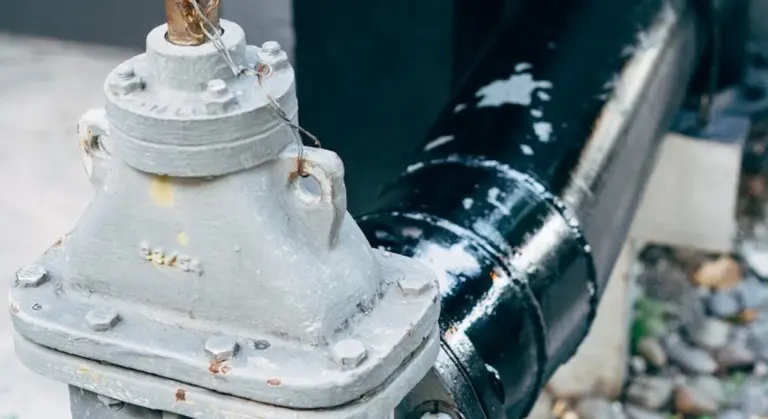
How Do You Thaw Frozen Main Water Pipes?
When we talk about a frozen main water pipe, we are talking about the pipe that brings water from the street into your home. This is the line you shut off at the main valve. It usually freezes where it is most exposed, like where it enters the foundation in a crawlspace or an unheated basement. To prevent damage, always know how to locate and shut off your water lines.
This is a serious repair that requires a methodical approach to avoid flooding your house.
Step 1: Shut Off the Main Water Valve
Find your main shut-off valve. It is usually where the water line enters your house, near the water meter. Turn the valve clockwise until it stops. If it’s a lever-style valve, turn it a quarter-turn so it’s perpendicular to the pipe.
Grab a bucket and a stack of old towels. Place them under the frozen area. Ice expands and can split copper, PEX, or even galvanized pipe. When that ice melts, water will spray out of that split. Being ready for that leak is not being pessimistic, it’s being a prepared homeowner.
Step 2: Open Faucets to Relieve Pressure
Go to a few faucets in your house, like a bathroom sink and a tub. Turn both the hot and cold handles to the open position. You do not need a full blast of water, just open them.
This step relieves pressure in the entire plumbing system, which gives the expanding ice and water somewhere to go other than bursting another pipe. It also gives you a clear signal later when the ice plug has melted, as water will start to trickle from these open faucets.
Step 3: Apply Heat to Thaw the Pipe
You need to warm the pipe gradually, starting from the faucet side back toward the frozen blockage. Never use an open flame like a propane torch. You can damage the pipe and it is a major fire hazard, especially in a crawlspace with insulation.
Here are your best tools for the job:
- Radiant Heat Lamp: This is my first choice for a long pipe run in a crawlspace. Set up a work light with a 250-watt infrared heat bulb. Position it about a foot away from the pipe. The radiant heat warms the pipe safely and evenly over a several-foot section.
- Hair Dryer: Works well for small, accessible sections. Move it back and forth along the pipe.
- Heating Pad or Electric Pipe Tape: Wrap these around the frozen section and plug them in.
- Towels Soaked in Hot Water: In a pinch, wrap the pipe with rags soaked in very hot water. Re-soak them as they cool.
Be patient. This can take an hour or more. Keep checking the faucets you opened. When you hear a sputter and then a steady trickle, the ice is gone.
Step 4: Check for Leaks and Restore Water
Once water flows freely from your test faucets, turn them all off. Go back to your main shut-off valve and slowly turn it back on all the way. Listen for any hissing or spraying sounds.
You must now do a systematic leak check. The freeze-thaw cycle stresses every joint and weak spot.
Go to the area you thawed. Feel the pipe and look for any drips or sprays, especially at fittings. Then, check the walls and ceilings of rooms directly above that pipe run for any new moisture. If you find a leak, shut the main valve off again immediately. A small split in PEX or a soldered joint on copper can often be repaired by a homeowner with a basic repair kit or a coupling.
If you find no leaks, you are done. Let the faucets run for a few minutes to clear out any air in the lines.
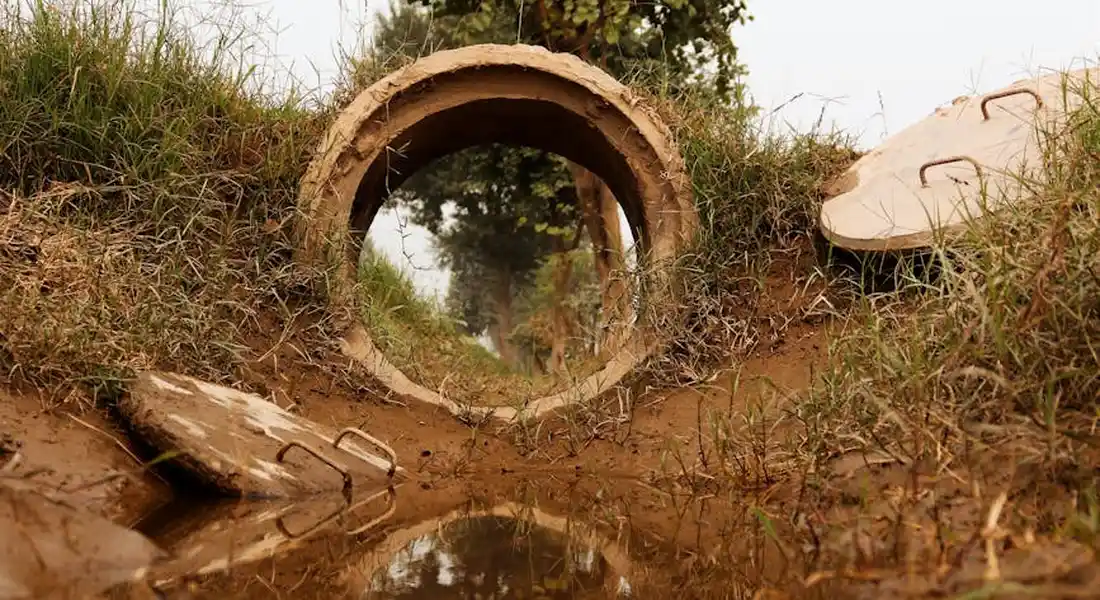
How Do You Thaw Frozen Underground Water Pipes?
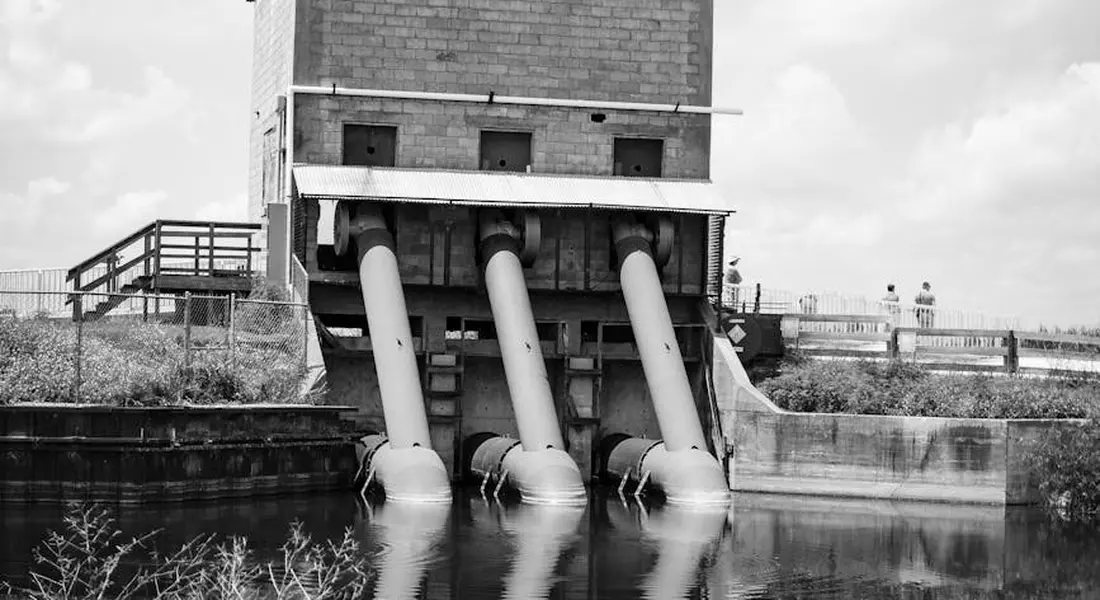
This is a whole different beast. You can’t see it. You can’t touch it. Thawing a frozen underground water line is a problem of access and precision. You’re working blind on a pipe that could be three feet down or fifty feet away from the house. In most cases, this is not a DIY project, and calling a professional is the fastest, safest path to getting your water back.
Why Underground Pipes Are a Different Challenge
You can’t pour hot water on dirt. You can’t wrap a heating pad around a pipe you can’t find. The ice blockage could be anywhere in the long run from your well or street main to your house. Trying to dig it up is a guessing game that can take days, destroy your yard, and you still might hit the wrong spot.
Option 1: For the Brave DIYer with a Shallow Line
If your water line is very shallow (perhaps in a warmer climate) and you’re certain of the freeze location, a pipe-thawing machine is your only real DIY tool. This is not a common homeowner tool.
A pipe-thawing machine sends a controlled, low-voltage electrical current through the metal pipe itself, using resistance to generate heat directly inside the line. It requires disconnecting the pipe from your home’s electrical ground system and connecting the machine’s clamps to the pipe on either side of the suspected freeze. The process is slow and methodical, especially when compared with other methods used to thaw frozen pipes or pumps.
You can sometimes rent these machines from larger, specialized tool rental shops, not your typical home center. You must follow the rental company’s safety instructions to the letter. If the idea of hooking electrical clamps to your main water line makes you pause, listen to that instinct.
Option 2: The Realistic Choice
Call a professional plumber. This is almost always the correct answer. Here is what you are paying for:
- Commercial Thawing Equipment: Pros use high-amperage machines that are more effective and faster than rental units.
- Locating the Freeze: A good plumber won’t guess. They use the thawing process itself or specialized equipment to pinpoint the exact location of the ice blockage.
- Safety and Knowledge: They know how to properly isolate the pipe and protect your home’s electrical and plumbing systems.
Trying to dig up a frozen line is almost never the answer. You will waste an immense amount of time and effort. Let the pro melt the ice from the inside.
The Critical Follow-Up: Preventing a Repeat
If your underground line froze once, it will freeze again under the same conditions. Getting the water flowing is only half the job. Watch for water line problems symptoms—reduced water pressure, unusual noises, or sudden leaks. These signs reveal hidden issues that need attention. Once the pipe is thawed, you must address the root cause, which is almost always insufficient burial depth or lack of insulation.
This is a permanent fix that requires excavation. The solution is to dig down to the water line and either:
- Lower the pipe to below the local frost line (often 36-48 inches deep), or
- Properly insulate the existing pipe with closed-cell foam insulation sleeves designed for direct burial.
This is more work, but it’s the only way to stop the problem for good. Consider it part of the total repair cost.
How to Prevent Water Pipes from Freezing: Your Winter Checklist
Treat this like your other fall chores. Do it before the first hard frost hits, right after you clean the gutters. A weekend of prevention saves you from a midnight flood and a huge repair bill.
Insulate
Think of insulation as a winter coat for your pipes. You need the right type for the right spot.
- Foam Pipe Sleeves: These are for pipes in unheated but protected spaces, like your basement ceiling or crawlspace. They’re cheap and easy to snap on. Measure your pipe’s diameter before you buy.
- Heat Tape (Heat Cable): This is for the problem children-pipes in exterior walls or in a seriously cold crawlspace. It’s an electrical cable you wrap along the pipe that provides gentle warmth. You must follow the manufacturer’s instructions exactly to avoid a fire hazard. Some plug in, others are hardwired.
- Buried Lines: Your main water line from the street and any irrigation lines should be buried below your local frost line. If you’re installing a new line, this is non-negotiable. If you have recurring freeze issues with an existing buried line, the only real fix is to dig it up and bury it deeper.
In my last house, the pipes in the crawlspace got foam sleeves, but the short run to the outdoor spigot on the north wall also got heat tape. It never froze again.
Seal It Up
Cold air loves to sneak in. Your job is to stop it. Grab a flashlight and inspect where pipes enter your home, especially in the basement and crawlspace.
- Look for gaps around the pipe where it comes through the wall or floor.
- For small cracks, use a quality silicone caulk.
- For larger holes, use expanding spray foam. Be careful-that stuff expands a lot.
Sealing these gaps does double duty: it keeps cold air off your pipes and reduces your heating bill.
Let It Drip
This is the oldest trick in the book because it works. A small, steady drip from a faucet keeps water moving through the pipes. Moving water is much harder to freeze than still water. It also relieves pressure in the system. If some ice does form, the open faucet gives the expanding ice a place to go, which can prevent a burst pipe. That same principle helps protect well pumps in cold weather. By keeping water moving and protecting exposed lines, you reduce the risk of freezing damage to the pump and surrounding plumbing.
Use the faucet that is farthest from where your main water line enters the house. This ensures you’re moving water through the greatest length of pipe. A pencil-thin stream is all you need.
Open Up
Kitchen and bathroom vanity cabinets trap cold air. On a bitter night, open those cabinet doors. This lets the warmer air from your home circulate around the pipes inside. It costs you nothing and takes two seconds. Do this for any sink on an exterior wall.
Garage Warning
Garages are a major weak spot. They are often unheated and have big doors that let in cold air.
- Any water pipe running through the garage must be insulated. Use foam sleeves at a minimum.
- If your water heater is in the garage, insulate the hot and cold lines connected to it. Consider an insulated water heater blanket for the tank itself if the garage gets very cold.
- Keep the garage door closed, especially at night. This is the simplest, most effective thing you can do.
My current garage has the water heater. I insulated all the pipes and made a habit of closing the main door every single night in winter. It hasn’t been a problem since.
Outdoor Duty
Outdoor faucets are the first to freeze. Don’t forget them.
- Disconnect all garden hoses. Store them indoors.
- Drain the hoses completely. Water left inside can freeze and damage the hose.
- For standard hose bibs (spigots), find the interior shut-off valve that feeds it, usually in the basement. Turn it off. Then go outside and open the exterior faucet to drain all remaining water out of the pipe. Leave it open for the winter.
- The best upgrade is a frost-free hose bib. It’s designed so the valve seat and water are shut off and drained back inside the warm house wall. Even with a frost-free bib, you still must disconnect the hose for it to work properly.
Special Cases: Can Your Hot Water Heater or Tankless System Freeze?
Yes, they absolutely can. A hot water line can freeze just like a cold one. The water sitting in those pipes is not actively being heated. Think of it like coffee in a thermos left in your car. It starts hot, but given enough time in the cold, it will freeze solid.
Gas Hot Water Heater in a Garage
This is a high-risk install I see too often. The tank itself is less likely to freeze if the burner is actively firing to maintain temperature. The real vulnerabilities are the connected cold inlet and hot outlet pipes, especially the first few feet where they connect to the unit. Insulation on these pipes is non-negotiable. Use quality pipe insulation sleeves, and for the love of dry basements, make sure the pipes run along interior walls, not the exterior garage wall.
Tankless Water Heaters (like Rinnai)
Their internal copper water passages are tiny. This means they can freeze fast, sometimes in just a few hours of extreme cold. Most modern units, like Rinnai or Navien, have a built-in electric freeze protection mode. This critical feature requires constant power to a dedicated outlet to run a small internal heater. If your power goes out during a freeze, that protection is gone. You will likely need to manually drain the unit using the isolation valves and service ports. Keep your owner’s manual handy for the specific drain procedure.
The Power-Outage Plan
If you lose heat and power in a deep freeze, the last resort is a full system drain. This is your final defense against catastrophic pipe bursts throughout the house, especially when winterizing your home’s water system.
- Shut off the main water valve where it enters your home.
- Open every single faucet in the house, both hot and cold sides. Start with the highest floor and work down.
- Flush all toilets.
- If you have a water softener, put it into bypass mode and drain it according to its manual.
- For tankless heaters and conventional water heaters, consult the manual to drain them. Usually, you connect a hose to the drain valve.
It’s a hassle, but it’s cheaper than replacing a flooded basement. Once power and heat are restored, close all faucets, turn the main valve back on, and slowly refill the system, checking for leaks.
Common Questions
What’s the very first thing I should do if I suspect a frozen pipe?
Immediately open the faucet that the frozen pipe supplies. This provides a crucial pressure release for steam and expanding water during thawing, which helps prevent a burst. Then, locate your main water shut-off valve and be prepared to use it if you find a leak. In an emergency, knowing how to shut off the hot water quickly can prevent flooding. This leads into the emergency shut-off hot water leak steps that follow.
What is the absolute safest way to thaw a frozen pipe myself?
Use a standard hairdryer on a low or medium setting, moving it steadily back and forth along the pipe. Always start heating at the section closest to the open faucet and work backward. Never use an open flame like a propane torch, as it is a severe fire risk and can damage pipes instantly.
What’s the single most effective thing I can do to prevent frozen pipes?
Insulate pipes in unheated areas like basements, crawlspaces, and garages with foam pipe sleeves. For pipes in extreme cold spots, such as in an exterior wall, properly installed UL-listed heat tape is the best defense. Sealing air leaks where pipes enter your home is a highly effective, low-cost secondary measure.
Should I ever try to thaw a frozen underground water line myself?
In almost all cases, no. Thawing a buried line requires specialized equipment and knowledge to do safely. This is a job best left to a professional plumber with a commercial pipe-thawing machine, as DIY attempts often waste time and can damage your plumbing or electrical systems.
Can my hot water pipes actually freeze?
Yes, any water pipe can freeze if it’s exposed to sufficiently cold temperatures for long enough. Hot water lines are especially vulnerable in unheated garages or during a power outage. Tankless water heaters have specific freeze-protection needs; always ensure yours has constant power in cold weather.
Keeping Your Pipes Safe and Water Flowing
When a pipe freezes, speed is your best tool to prevent a burst and costly water damage. Focus on safe, gradual thawing with heat tape, a hair dryer, or towels soaked in hot water, starting at the faucet end. Your most reliable defense is a proactive routine of insulation for vulnerable lines and maintaining a steady heat source in at-risk spaces like basements and crawl spaces.
Bob McArthur
Bob is a an HVAC and plumbing industry veteran. He has professionally helped homeowners resolve issues around water softeners, heaters and all things related to water systems and plumbing around their homes. His trusted advice has helped countless of his clients save time, money and effort in home water systems maintenance and he now here to help you and give you first hand actionable advice. In his spare time, Bob also reviews home water systems such as tankless heaters, water softeners etc and helps home owners make the best choice for their dwelling. He lives around the Detroit area and occasionally consults on residential and commercial projects. Feel free to reach out to him via the contact us form.