Well Pump Leaking and Humming? Here’s Your Action Plan
Your well pump is leaking and humming for a reason. That sound means it’s trying to run but it’s stuck, and if you don’t address it, you’re headed for a dead pump and no water.
This guide will walk you through the fix. We will cover the three most common causes, the exact steps to diagnose which one you have, and how to decide between a simple repair or a full pump replacement.
I’ve pulled and rebuilt more pumps than I can count on service calls, and I’ve dealt with the same noise in my own well house. The hum tells you the problem is mechanical, not electrical, which narrows it down fast.
The DIY vs. Pro Verdict: Can You Fix This Yourself?
Overall difficulty for a humming, leaking pump system? I rate it an 8 out of 10. The individual fixes range from a simple 2 to a brutal 10. Knowing the difference saves you money and prevents a disaster.
Repairs a Handy Homeowner Can Tackle
If the problem is above ground and involves basic plumbing or electrical testing, you can probably handle it. Always shut off power at the breaker first.
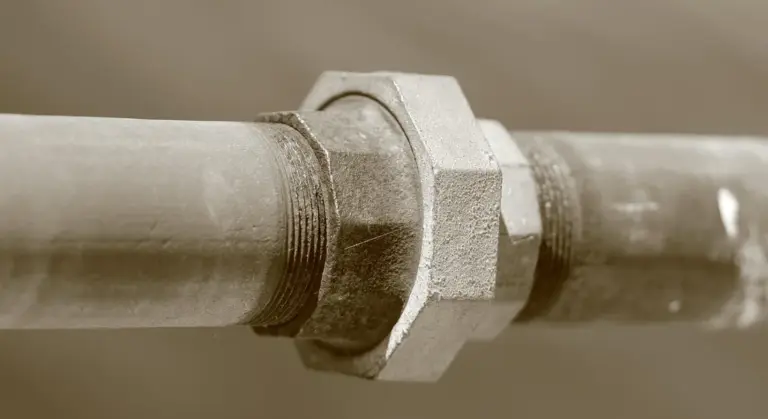
- Tightening Pipe Fittings and Unions: A slow drip at a threaded connection is often a simple fix. Use two pipe wrenches, one to hold the pipe steady and one to tighten the fitting. This is a 2/10 difficulty.
- Replacing a Pressure Switch: If the humming comes from the switch box and the pump won’t start, the contacts may be welded or dirty. Shut off the power, disconnect the wires (take a photo first), and swap the old switch for a new one with the same pressure rating. This is a 4/10 job.
- Replacing an Above-Ground Check Valve: Some systems have a check valve in the pitless adapter or right at the pressure tank. If it’s leaking or stuck, you can replace it. This is a 5/10 job involving pipe disassembly.
- Sealing Threads: For any threaded connection you open, use pipe thread sealant (pipe dope) or Teflon tape made for water lines. This prevents new leaks.
When You Must Call a Licensed Well Technician
This isn’t about skill. It’s about safety, specialized equipment, and local law.
- Any Work on a Submersible Pump in the Well: This is non-negotiable. Pulling hundreds of feet of pipe and wire requires a puller truck, well seals, and expertise. One mistake can drop the pump to the bottom of the well. This is a 10/10 job for pros only.
- Major Electrical Work at the Control Box or Wellhead: If the issue is deeper than the pressure switch, like a failed capacitor or relay, let a pro handle the high-voltage components.
- Leaks at the Well Seal or Pitless Adapter: These are underground connections between the well casing and your water line. Fixing them often involves excavating and special tools.
- If You Suspect the Pump Motor Itself is Failing: Diagnosing a burnt-out submersible motor requires a multimeter test at the wellhead. A humming sound with no water often points here. This leads directly to a pump pull, which is a pro job.
In my own system, I’ll swap a pressure switch all day. The moment the diagnosis points down the well, my phone is out. The cost of the service call is cheap insurance against a ruined well, especially if the pressure switch settings are incorrect.
Your Well Pump Toolbox: What You’ll Need to Start
Having the right gear on hand turns a panic situation into a manageable project. This is the kit I keep in my basement for my own water system.
Essential Tools
- Multimeter: Critical for checking if power is reaching the pressure switch or if the motor windings are shot.
- Two Pipe Wrenches (14″ and 18″): You need one to hold, one to turn. Aluminum wrenches are lighter for overhead work.
- Thread Sealants: Both Teflon tape (for tapered threads) and a good pipe dope (like RectorSeal #5). I use dope on most water line joints.
- Five-Gallon Bucket and Rags: For catching water when you open a line. You will get wet.
- Wire Strippers/Cutters & Electrical Tape: For any electrical connections.
- Adjustable Wrenches & Screwdrivers: For electrical box covers, ground wires, and component mounting.
Common Replacement Parts to Have Ready
These are the usual suspects for leaks and humming. Know your system’s specs (like pressure switch range) before buying.
- Pressure Switch: A 40/60 psi switch is common. Get one with a lever for manual control.
- Check Valve: Have one that matches your pipe size (usually 1″ or 1.25″).
- Torque Arrestor: If your submersible pump doesn’t have one, it can cause noise and wear. This is installed on the pump drop pipe.
- Pipe Thread Sealant: Already mentioned, but it’s so important it counts as a part.
Safety Gear is Non-Negotiable
- Rubber-Soled Shoes: You are working with water near electricity. Dry, insulating footwear is a must.
- Safety Glasses: Pipe dope, rust, and debris love to fly into eyes when breaking connections.
- Work Gloves: Protect your hands from sharp pipe threads and pinch points.
This toolkit lets you confidently tackle the above-ground diagnostics and repairs, so you know exactly what to tell the pro if you need to call one.
What That Leak and Hum Really Mean: Diagnosing the Problem
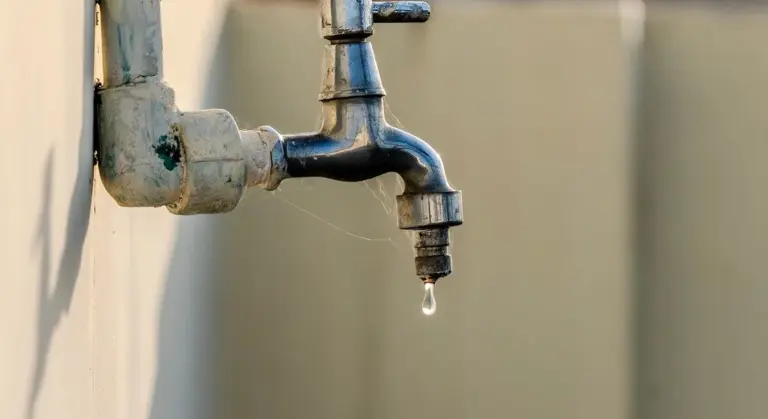
First, figure out what you’re dealing with. A little drip from the pipes or pump body on a humid day is often just condensation, like a cold glass of water sweating. A steady leak from a fitting or a spray from the pump casing is your problem.
A continuous hum means the pump motor is getting power but cannot spin up, which will burn it out if you leave it like that. It’s stuck, struggling against something.
So, why is your well water pump leaking? It usually comes down to three things.
- Faulty Seals: The shaft seal keeps water from entering the motor. It wears out.
- Cracked Housing: On shallow well jet pumps, the cast iron or plastic volute can crack from freeze damage or age.
- Loose Fittings: The union connection, pipe fittings, or the drain valve can simply work loose over time.
Why is your well water pump humming? The motor is trying but failing to start. Common reasons are:
- Failed Capacitor: This component gives the motor the extra “kick” to start spinning. When it dies, the motor just hums.
- Stuck Impeller: Sediment or debris can jam the impeller, preventing it from turning.
- Jammed Pressure Switch: The contacts inside the switch can weld shut from arcing, or the switch diaphragm can fail, telling the pump to run non-stop.
Is Your Pressure Tank Waterlogged? A Common Culprit
A waterlogged pressure tank forces your pump to short cycle, turning on and off every 30 seconds. This rapid firing can make the pump hum as it constantly tries to restart. You will also hear water hammer in your pipes.
Do this simple test. Turn off the pump’s power. Drain all the water pressure from the system by opening a faucet. Now, knock on the side of the tank with your knuckle.
If it sounds hollow at the top and solid at the bottom, you have air. If it sounds completely solid all the way up, the tank is waterlogged. The air charge in the bladder or diaphragm has been lost. You can try to recharge it using a tire gauge and air compressor at the tank’s Schrader valve (like a tire valve), but if the bladder is ruptured, you need a new tank.
The Red Flag Troubleshooting Guide: Signs It’s Getting Worse
If you see any of these signs, stop. Turn off the power at the breaker and call a professional.
- The hum turns into a loud electrical buzzing or you smell burning insulation.
- The drip becomes a steady spray of water from the pump body.
- You have no water at any faucet in the house, but the pump is still humming.
- The circuit breaker trips immediately when you try to reset it.
- You see visible sparking or smoke from the pressure switch or control box.
Any one of these means the problem has escalated beyond a simple DIY fix and you risk serious damage or electrical hazard.
Step-by-Step Fixes for a Humming and Leaking Pump
How do you fix a humming well water pump? Start with the easiest, safest components first: the pressure switch and capacitor. How do you fix a leaking well water pump? Find the source. Tighten what’s loose, replace what’s cracked.
Safety first. For any of these fixes, shut off the electrical power to the pump at the main circuit breaker panel. Use a non-contact voltage tester to confirm the wires are dead. If the breaker trips, it could indicate a well pump pressure switch issue or a wiring problem. In that case, inspect the pressure switch and connections before proceeding with further troubleshooting.
Fix 1: Reset or Replace the Pressure Switch (For Humming)
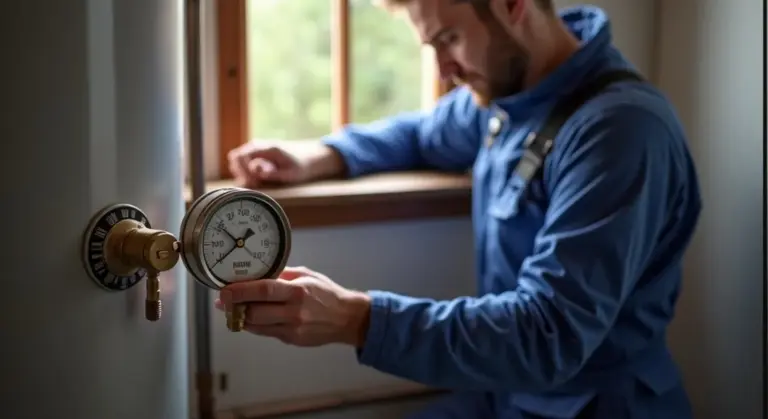
The pressure switch is that small gray box with wires and a thin water tube connected to it. With the power confirmed OFF, remove the plastic cover.
Look at the set of electrical contact points inside. Do you see black carbon scoring or pits? Are the contacts stuck together? You can try to gently pry them apart with a small screwdriver if they are stuck.
Often, the issue is just debris like a spider web or dirt inside the switch preventing the contacts from closing properly. Use a blast of compressed air or a dry brush to clean it out. If the contacts are badly arced or the switch doesn’t click when water pressure changes, replace the entire switch. It’s a $25 part.
Fix 2: Tighten or Replace Leaky Plumbing Connections
For a leak at a threaded connection, first try to tighten it. Use one wrench to hold the base fitting and a second to tighten the nut. Do not over-tighten.
If it still leaks, you must take it apart. For most household threaded connections, use pipe dope (a paste sealant) or Teflon tape. Use pipe dope for larger fittings (1 inch and above) and for any connection that may need occasional disassembly, like a union. Use Teflon tape for standard smaller pipe threads. Wrap the tape clockwise 3-4 times, starting at the end of the thread.
If the leak is from the pump casing itself, you likely have a crack. You cannot reliably patch a cracked shallow well water pump housing. The water pressure will blow out any epoxy or sealant. The pump needs to be replaced.
Fix 3: Replace the Motor Capacitor (For a Hard-Start Hum)
For a submersible pump, the capacitor is in the above-ground control box. For a jet pump, it’s usually a silver or black cylinder mounted on the motor itself.
Before you touch it, you must discharge it. With the power OFF, use an insulated screwdriver. Place the metal shaft across the two capacitor terminals. You might see a small spark. That’s it discharged.
Take a picture of the wiring. Discharge it again to be sure. Disconnect the wires and remove the old capacitor. Install a new capacitor with the exact same microfarad (µF) rating and voltage. Reconnect the wires exactly as they were.
What Helped Me: A Quick Tip on Capacitors
I keep a spare universal capacitor in my toolbox. It’s saved me a few weekend emergencies when the hardware store was closed. They have adjustable ratings to match several common pump sizes. It’s not a permanent fix, but it will get your water back on until you buy the exact model you need.
When NOT to Try This: Jobs for a Well Professional
Knowing your limits is the smartest DIY skill. Some jobs require specialized tools and permits that only a licensed well professional should handle.
Pulling a Submersible Pump
This is not a solo weekend project. A submersible pump sits hundreds of feet down your well casing, suspended by its own heavy electrical cable and safety rope. Pulling it requires a large tripod or crane, pipe wrenches, and a method to safely manage hundreds of feet of wet, heavy pipe and wire. One slip can drop the pump, ruin the well, or cause serious injury. If the leak or hum is coming from the pump itself deep in the well, you need to call a pro.
Repairing a Cracked Well Casing
The casing is the sealed pipe that keeps surface water and contaminants out of your drinking water. A crack compromises your entire water supply. Fixing it isn’t about slapping on a patch. It requires well-specific epoxy resins, specialized inspection cameras, and techniques to ensure a permanent, watertight seal that meets health code. A botched casing repair can contaminate your well with bacteria or chemicals, creating a health hazard.
Rewiring the Pump Control Box
The control box is the brain of your pump system, dealing with 230-volt power. If you see burnt terminals, smell ozone, or aren’t comfortable tracing complex wiring diagrams, stop. Working on high-voltage components without proper training risks severe electrical shock or causing a short that destroys the pump motor. If the hum is coming from the control box and a simple capacitor swap doesn’t fix it, let a technician diagnose it.
Keeping It Quiet and Dry: Your Well System Maintenance Roadmap
A little regular attention prevents most major problems. Follow this simple schedule to catch issues early.
Every 6 Months: Check the Pressure Tank Air Charge
This is your number one maintenance task. A waterlogged pressure tank makes the pump cycle on and off rapidly, causing wear and humming. Here is how to check it.
- Turn off the pump’s circuit breaker.
- Open a faucet to drain all water pressure from the system.
- Find the tank’s air valve (it looks like a tire valve).
- Use a standard tire gauge to check the air pressure.
The air pressure must be set 2 psi below the pump’s cut-on pressure. For a common 30/50 psi switch, your tank should read 28 psi when empty. If it’s low, use an air compressor to fill it. This simple act can stop a humming pump and extend its life for years.
Monthly: Listen for Unusual Sounds
Get familiar with your system’s normal sounds. Once a month, stand by the pressure tank and control box when a faucet opens. You should hear a clear click from the pressure switch, then the smooth hum of the pump starting. A grinding, screeching, or louder-than-normal hum is a red flag for a failing motor or bearing. Catching this early often means a simpler, cheaper repair.
Seasonally: Inspect for Leaks
Every season, do a visual walk of your entire system. Check the area around the pressure tank, the wellhead, and any above-ground piping. Look for:
- Persistent moisture or puddles
- White, crusty mineral deposits (scale)
- Rust stains on fittings or the floor
A small drip from a fitting is often a simple fix with a wrench. Ignoring it can lead to major water damage or a sudden blowout.
The Water Science Behind the Hum
Your well water isn’t just H2O. It contains dissolved minerals, measured as Total Dissolved Solids (TDS). In areas with hard water or fine sediment, these particles can slowly accumulate inside the pump. Think of it like silt building up in a fan blade. This grit can clog the pump’s impeller, making it work harder and produce a distinct humming or grinding sound as it struggles to spin. If you have sandy water or high TDS, a proper sediment filter installed after the pressure tank is a wise investment to protect your pump and prevent issues like no water flow problems.
Recommended Products for Well Pump Longevity
A leaking, humming pump is a sign of a problem right now. The right accessories can prevent the next one. Think of these not as extras, but as essential armor for your pump system. I install these on every pump job I do, and on my own home’s system.
A Quality Sediment Filter for the Inlet
Sand and grit are a pump’s worst enemy. They act like sandpaper on the impellers and seals inside the pump, causing wear, reducing efficiency, and leading to leaks. A simple sand filtration or cartridge filter installed on the main line from the pressure tank protects everything downstream.
Installing a sediment filter is one of the easiest and most effective ways to add years to your pump’s life. Place it after the pressure tank and before any other equipment. Check and clean the filter screen or replace the cartridge every 3-6 months, or whenever you notice a drop in water pressure. If you see a lot of sediment, it’s a clue about your well’s condition.
A Dielectric Union to Prevent Corrosion
If your pump has brass fittings connected directly to steel pipe, you’re inviting trouble. This creates galvanic corrosion, where the two dissimilar metals essentially create a weak battery. The steel pipe will corrode and leak, often right at the connection. That leak you see might be from the pipe, not the pump.
A dielectric union is a special fitting that separates the metals with a plastic sleeve and a rubber washer, breaking the electrical circuit. Installing a dielectric union at any connection between dissimilar metals stops galvanic corrosion before it can eat through your pipes. It’s a small, inexpensive part that prevents a huge, rusty mess.
A High-Quality Stainless Steel Check Valve
The check valve’s job is simple: it lets water flow up the pipe, but slams shut to stop it from flowing back down. A weak or failing check valve lets water drain back into the well. This causes the pump to cycle on and off constantly, which is a major cause of motor failure and that annoying humming sound.
While many submersible pumps have a built-in check valve, adding a second, heavy-duty stainless steel check valve above ground is smart insurance. A stainless steel check valve at the wellhead ensures a positive seal and withstands corrosion far better than cheap plastic or brass models. Avoid the temptation to use a cheap one; this valve is working 24/7. Proper placement of the check valve in a deep-well setup is crucial for its function and longevity, helping maintain consistent pressure and reduce backflow. When planning, consider how depth, head pressure, and well design will interact with the valve’s position to maximize overall performance.
A Pump Protector or Cycle Stop Valve
This is the advanced move for ultimate pump protection. Standard pressure switches turn the pump on at 40 PSI and off at 60 PSI. Every time you run a small amount of water, the tank drops to 40 PSI and the pump kicks on for a very short, hard cycle. This constant starting and stopping is brutal on the motor. If you want to optimize your setup, consider adjusting your well pump pressure switch settings to better suit your system’s needs.
A pump protector or Cycle Stop Valve (CSV) changes the game. Instead of letting the pressure tank drain completely, it modulates the pump’s output to provide a constant, steady pressure. By eliminating short, rapid cycling, a CSV can reduce pump starts from 50-100 times a day down to just 2 or 3, dramatically extending the motor’s lifespan. It’s like avoiding stop-and-go traffic for your pump’s engine.
Quick Answers
Why is my well water pump leaking water?
A leak usually comes from a loose plumbing fitting, a worn shaft seal inside the pump, or a crack in the pump housing. First, dry everything off and look for the exact source of the drip or spray to know how to proceed.
Is a humming pump an emergency?
Yes, treat it as urgent. That hum means the motor is getting power but can’t start, which will burn it out if left unchecked. Turn off the pump’s power at the breaker until you can diagnose it to prevent a costly motor failure.
Can I just tighten a leaky fitting myself?
Absolutely, if the leak is from an above-ground threaded connection. Shut off the power, use two pipe wrenches (one to hold, one to turn), and snug it up. If it still leaks, you’ll need to take it apart and apply fresh pipe thread sealant.
Can I replace the capacitor if my pump is humming?
Yes, this is a common DIY fix if you’re comfortable with basic electrical safety. Always shut off power, discharge the old capacitor with an insulated screwdriver, and replace it with a new one of the exact same microfarad (µF) rating.
When should I absolutely not touch the pump myself?
Stop and call a pro if the leak or hum is coming from the well itself, if you see sparking/burning smells, or if the issue is inside the pump’s control box (beyond a simple capacitor swap). Working on deep well components or high-voltage wiring is dangerous and requires specialized equipment. If you’re unsure who to call for a well pump issue, a licensed well pump service can assess the situation and advise on safe next steps. They specialize in wells, pumps, and control panels.
Safety First: Protecting Your Pump and Yourself
Always shut off the power at the breaker before you touch any wiring or components on a leaking, humming pump. Start your diagnosis with the simple, obvious checks for water at the pressure switch and the union before you assume the worst about the motor or the well itself.
Written by Bob McArthur. Bob is a an HVAC and plumbing industry veteran. He has professionally helped homeowners resolve issues around water softeners, heaters and all things related to water systems and plumbing around their homes. His trusted advice has helped countless of his clients save time, money and effort in home water systems maintenance and he now here to help you and give you first hand actionable advice. In his spare time, Bob also reviews home water systems such as tankless heaters, water softeners etc and helps home owners make the best choice for their dwelling. He lives around the Detroit area and occasionally consults on residential and commercial projects. Feel free to reach out to him via the contact us form.