RV and Camper Water Heater Socket Sizes: The DIYer’s Straight Answer
Stuck because your socket doesn’t fit the water heater nut? Picking the wrong size wastes time and can wreck the fitting.
We will cover the two most common socket sizes, how to identify which one your heater uses, and the simple tools you need for a secure install or repair.
I’ve fixed hundreds of these units. Remember this: forcing the wrong tool is a sure way to turn a simple job into a major headache.
The Number One Socket Size for RV Water Heaters
Here’s the good news. For 99% of the RV water heaters you’ll work on, you only need one giant socket.
The 1-1/2 inch (1.5″) hex socket is the standard for the heating element plug on most RV water heaters. This is not a suggestion, it’s the tool you must have.
This socket fits the large nut you turn to remove the electric heating element itself. You’ll use it when the element burns out, which happens, or when you need to drain and flush the tank to clear out sediment. It’s a straightforward repair. Shut off power and water, drain the tank, unscrew the plug, swap the element, and reinstall.
Don’t get tripped up by the different names. Whether a parts diagram calls it the “plug,” “nut,” or “element socket,” they are talking about this same 1-1/2 inch fitting.
This rule applies directly to the most common units on the road: the 6-gallon and 10-gallon models from Atwood and Suburban. If your RV has one of these, a 1-1/2 inch deep well socket is your first tool in the box.
Your RV’s Other Common Plug and Drain Sizes
While the 1-1/2 inch socket is for the heater, you have another critical fitting to know.
The second size you must have is a 1-1/16 inch socket or wrench for the drain plug, which is also the anode rod plug. These are two different access points on the same appliance.
Here’s the simple difference. The 1-1/2″ socket removes the heating element. The 1-1/16″ socket removes the drain plug, which often has a sacrificial anode rod attached to fight tank corrosion. You remove this one for winterizing, draining, or replacing the anode.
This drain plug is often a square drive (like a large bolt head) or a hex. A deep socket or a ratchet extension is non-negotiable here, as the plug is usually recessed. Trying to use an adjustable wrench in that tight space is a recipe for rounded corners and frustration.
For a complete picture, your water heater will also have a smaller safety pressure relief valve, typically with a 3/4″ or 1″ discharge pipe. This valve is a safety device that releases water or steam to prevent excessive pressure from building up inside the tank. You won’t usually need a socket for this, but it’s good to recognize it.
Do Brands Like Atwood and Suburban Use Different Sockets?
Generally, no. The standard is the standard for a reason.
Atwood and Suburban’s common models share the same 1-1/2″ and 1-1/16″ sizes. Their designs are functionally identical for these components. I’ve worked on both in my own rigs and customer units, and my same two sockets fit.
You should always physically verify the sizes on your specific unit before you start, especially if it’s very old or a specialty model. Some Dometic or imported models can sometimes use metric fittings, which is why you check first.
The final authority is always your owner’s manual or the official parts breakdown for your model number. For AO Smith models, the AO Smith water heater manuals guide helps you verify the exact instructions for your unit. Find it online before you buy a single tool. This five minute check saves a wasted trip to the hardware store with a half-drained water heater.
Tools and Materials Checklist for the Job
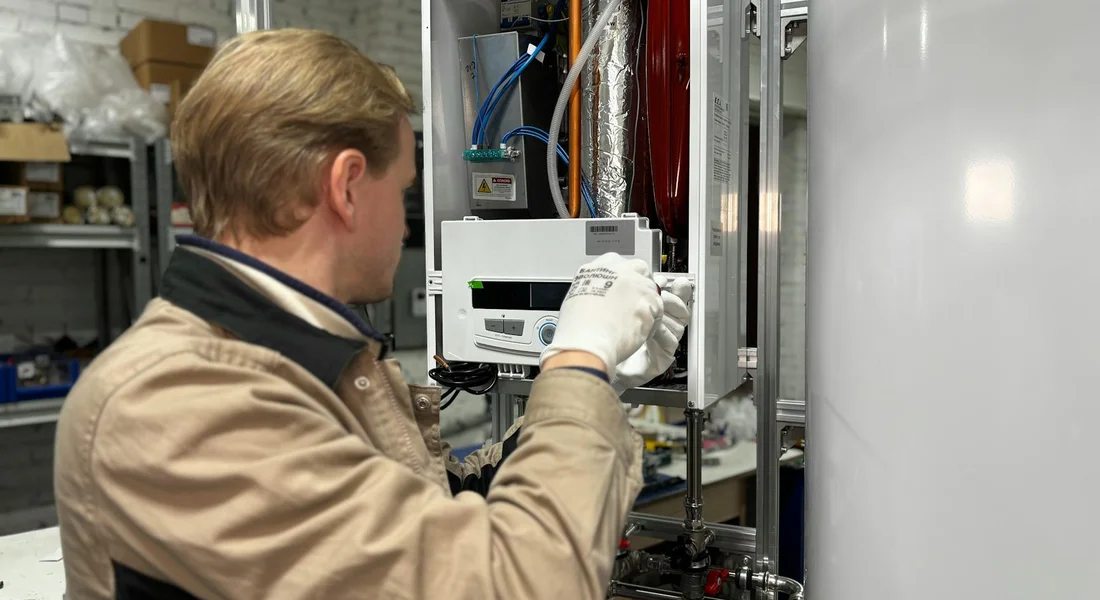
You need the right tools before you touch that water heater. A standard 3/8″ or 1/2″ drive mechanic’s socket set won’t cut it. The nuts on RV heating elements and anode rods are massive.
Must-Have Tools
- 1-1/2″ Deep Well Socket: This is for the heating element nut. A 6-point socket grips better than a 12-point and is less likely to round off the corners.
- 1-1/16″ Deep Well Socket: This size fits most standard RV anode rod nuts.
- Long Ratchet or Breaker Bar: You need leverage. These nuts can be on very tight, especially the element.
- Teflon Tape (PTFE Tape): Use this on the threads of the new element or anode rod. Do not use pipe dope, as it can interfere with the electrical ground.
- New Element and/or Anode Rod: Know which one you are replacing and have the correct part ready.
Helpful Extras
- Socket Extension: A 6-inch extension can help you clear the heater’s exterior wall and get a straight pull on the ratchet.
- Shop Towels and a Bucket: There will be a little water spillage when you pull the old element. Have a bucket ready to catch it.
- Voltmeter for Safety Check: Before starting, use a voltmeter to double-check that power is off at the heater’s terminals. This is non-negotiable for safety.
Your standard socket set stops at about ¾”, so you must buy the 1-1/2″ and 1-1/16″ sockets separately. I learned this the hard way on my own camper’s first service, staring at a nut my entire toolbox couldn’t touch.
You have two options for buying these tools. You can buy the two sockets individually. This is cheap. You will also need to source a breaker bar. The other option is a dedicated RV water heater tool kit. These kits include both sockets, a breaker bar, and sometimes a replacement element gasket. For the price, the kit is often the smarter buy if you plan on doing this job more than once.
How to Measure Your Heater’s Socket Size in 2 Minutes
If you are not sure of your socket size, don’t guess. An incorrect socket will strip the nut and turn a simple repair into a nightmare. Here is how to know for sure.
The Simple Two-Minute Method
- Shut off all power to the heater at the main panel. Then, shut off the water supply and relieve the pressure by opening a hot water faucet inside the RV.
- Use a caliper or a standard ruler to measure the flat-to-flat distance across the element’s hex nut. Do not measure from corner to corner. Place your ruler on one flat side and measure straight across to the opposite flat side.
A socket is sized by the distance between its internal flat walls, which must match the flat-to-flat distance on your nut. A nut that measures 1.5 inches across its flats needs a 1-1/2″ socket. It’s that direct.
No caliper or ruler handy? Take a clear, well-lit photo of the nut. Put a common item like a coin or a standard pencil in the frame for scale. Any good RV parts store or dealership service desk can identify the size from your photo. This saves you a trip only to buy the wrong tool.
Step-by-Step: Removing and Replacing the Element
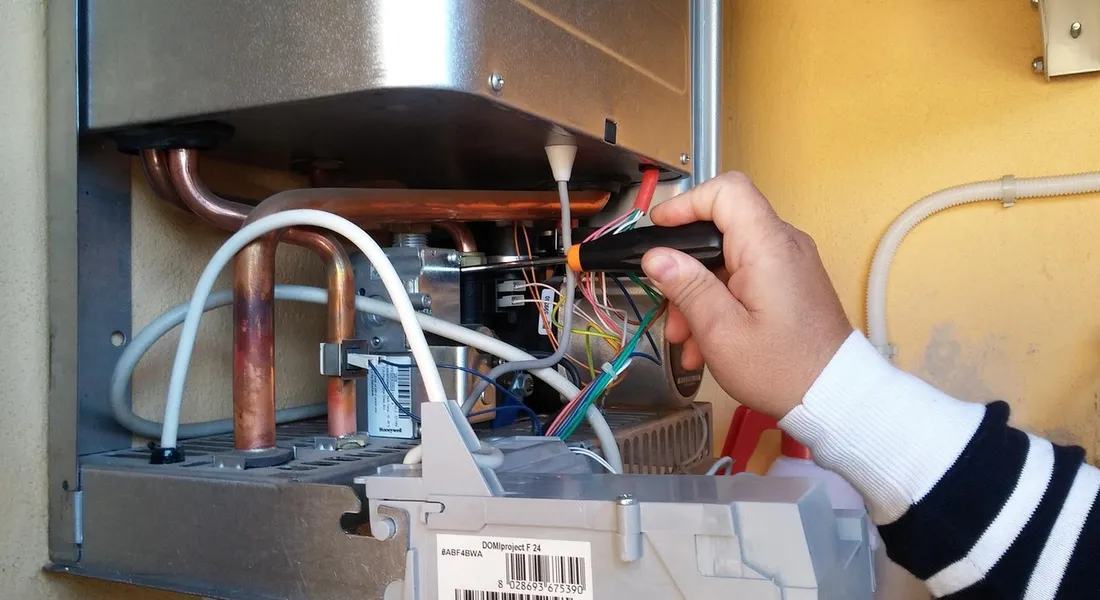
Grab your tools. You need a 1-1/2″ deep socket, a breaker bar or long ratchet, a new heating element, and Teflon tape. I keep this exact socket in my home shop. It fits most standard RV water heater elements.
- Kill all power and water. Turn the circuit breaker for the water heater to the OFF position. Close the main cold water inlet valve to the heater. Open a hot water faucet inside the RV to release any pressure in the lines.
- Drain the tank completely. Connect a garden hose to the drain valve at the bottom of the water heater. Run the hose to a safe drainage area. Open the drain valve and let every drop of water run out. A wet tank is a dangerous tank for this work.
- Break the old element loose. Fit the 1-1/2″ socket onto the hexagonal head of the heating element. Slide your breaker bar onto the socket. This will take serious effort. The element is installed very tight at the factory. Push slowly and steadily counter-clockwise until you feel it give way.
- Clean the threads in the tank. Remove the old element and its rubber gasket. Use a clean rag to wipe out the opening. Scrape away any hard water scale or old sealant from the metal seat. A clean surface prevents leaks.
- Apply tape to the new element. Wrap the threads of your new heating element with two layers of Teflon tape. Wind the tape clockwise, the same direction you will screw it in. This lubricates the threads and seals the connection.
- Install and snug the new element. Start threading the new element in by hand to avoid cross-threading. Once it’s hand-tight, use your socket and ratchet to finish. Tighten it until it is just snug. The rubber gasket will compress and seal. If you crank it too hard, you can strip the aluminum threads or crack the tank.
The DIY vs. Pro Verdict and Difficulty Rating
I give this repair a difficulty rating of 4 out of 10. Any homeowner comfortable with basic tools and following safety steps can handle this repair. It is a simple swap if you prepare correctly.
Call a professional RV technician in these situations.
- You cannot get all the water out of the tank. A clogged drain valve is common.
- You find extensive corrosion or cracks around the element port after removal.
- The electrical wiring looks damaged or the task of reconnecting wires makes you uneasy.
Hiring a pro is about time and access, not mystery. You are paying for their labor and your convenience. The mechanical skill required is basic.
Maintenance Schedule to Prevent Problems
Thinking about socket sizes is just for the repair. To avoid that repair, you need a simple maintenance routine.
Anode Rod Inspection and Replacement
Your water heater’s anode rod sacrifices itself to protect the tank from corrosion. Ignoring it is how you end up shopping for a whole new unit.
Check it once a year. To check it, you need the right deep socket to remove the hex head on top of the tank. On most RVs, that’s a 1 1/16-inch socket. Pull the rod out and look it over.
Replace the anode rod when it’s about 50% worn down, not when it’s completely gone.
A heavily depleted rod can’t do its job, and your tank is rusting. I keep a spare rod in my own camper’s storage bay so I’m never caught without one.
Flushing the Tank
Sediment is your heater’s enemy. It causes noise, reduces efficiency, and can burn out the heating element.
Flush the tank at least once per camping season, or more often if you have hard water. Here is the simple way to do it.
- Turn off the water heater and let the water cool.
- Connect a standard garden hose to the drain valve at the bottom of the tank.
- Open a hot water faucet inside the RV to break the vacuum.
- Open the drain valve and let the water run until it’s clear.
You will see sand, grit, and minerals come out. That’s the stuff causing your problems.
Checking the Heating Element
You usually check the element because you suspect it’s failed. When you pull it, always inspect it for scale.
The element unscrews with a specific socket, often 1 1/2 inches. If the element is crusted with white mineral scale or the coil is visibly broken, it’s done. Replace it.
A clean element transfers heat efficiently; a scaled-up one overheats and burns out.
When installing a new one, hand-tighten it first, then give it a firm quarter-turn with the wrench. Overtightening strips the threads in the soft tank shell, and that’s a much bigger repair.
Keeping Threads Clean
The socket sizes for the drain plug, anode rod, and element won’t change. What does change is the condition of the threads.
Before reinstalling any plug or element, wipe the male and female threads clean. A tiny dab of plumber’s grease on the threads makes the next removal easy. This simple step saves you from rounded bolts and stripped fittings down the road.
Red Flag Troubleshooting Guide
Your water heater tells you when something is wrong. You just need to listen. Here is what the common signs mean and what to do, as detailed in hot water heater signs and symptoms.
No Hot Water
You turn on the faucet and only get cold water. This points directly to the heating element.
First, verify the heater is getting power. Check the breaker and any onboard switch. If power is good, the element has likely failed. Use a multimeter to test it for continuity. No continuity means it’s dead.
A failed heating element is a straightforward swap if you have the correct socket to remove the old one.
Rotten Egg Smell
That sulfur smell is not your holding tank. It’s a chemical reaction in the water heater.
The reaction happens between bacteria in the water and a depleted magnesium anode rod. The rod is gone, and now the smell is here. Draining and flushing the tank with a hydrogen peroxide mix can kill the bacteria short-term. However, for a more comprehensive approach to removing the sulfur odor from water heaters, other methods might be needed.
The real fix is to replace the anode rod. Consider switching to an aluminum-zinc alloy rod, as they often reduce this smell.
Leaking from Threads
See water dripping from around the element or the drain plug? Do not ignore this.
A leaking plug or element is not a wait-and-see issue; it needs immediate attention.
The seal has failed. For the drain plug, try tightening it slightly first. If it still leaks, you must drain the tank, remove the plug, and replace the rubber gasket. For the heating element, you must replace the integral gasket. Never use thread seal tape on these parts; it can interfere with the seal and is a sign of a bad gasket.
Popping or Rumbling Sounds
Loud pops and rumbles from the tank are unsettling. That’s sediment getting superheated by the element at the bottom of the tank.
The water trapped under the sediment layer boils instantly, creating the noise. This stresses the tank and kills efficiency.
The solution is the flush procedure we covered. Do it as soon as you hear these sounds. In extreme cases, you may need to flush, refill, and flush again to dislodge stubborn sediment.
Water Science Snippet: How Hard Water Wears Parts
Hard water is water with a high mineral content. We measure this in grains per gallon (gpg) or as total dissolved solids (TDS). When you heat this water, the dissolved calcium and magnesium solidify out. They form a rocky, insulating crust called scale or limescale inside your tank and pipes.
Scale buildup is the main reason water heater elements fail prematurely. Think of the heating element like a stove burner. A layer of scale is like wrapping that burner in a thick blanket. The heat gets trapped. Hard water buildup further reduces heat transfer, hurting heater efficiency. As a result, the unit must run longer and harder, increasing energy use and wear. The element must work harder and at a much higher temperature to warm the water. This constant overheating burns the element out. If your RV water heater is suddenly slow to heat or trips a breaker, a scaled-up element is a prime suspect.
The anode rod is your tank’s bodyguard. It’s a metal rod that corrodes on purpose to protect the steel tank from rust. Hard water minerals, especially sulfates, create a more conductive environment. This heightened conductivity drastically speeds up the sacrificial corrosion of the anode rod. The rod gets eaten away faster, leaving your tank vulnerable. In my own service calls, I’ve pulled anode rods from hard water areas that were completely gone in under a year. This is why it’s critical to check your anode rod regularly, especially when dealing with hard water.
Your RV’s maintenance schedule depends heavily on your water source. If the water at your home base or the campgrounds you frequent is hard, your water heater will need attention more often. Test your home’s water hardness to set a realistic maintenance calendar for your RV. For water over 7 grains per gallon, plan to inspect the anode rod and check for scale every year, not every two or three.
Common Questions
Are the socket sizes the same for all RV water heater brands?
For the vast majority, yes. The standard 1-1/2″ (element) and 1-1/16″ (drain/anode) sizes apply directly to common Atwood and Suburban models. Always verify with your specific model’s manual, as some very old or specialty units can differ. This quick check prevents a major headache.
Why are there two different socket sizes for one water heater?
They serve two different components. The large 1-1/2″ socket is for the electric heating element, which heats the water. The smaller 1-1/16″ socket is for the drain plug, which often includes the sacrificial anode rod for tank protection. You need both for complete maintenance.
What’s the best type of socket to use for this job?
Use a 6-point deep well socket, not a 12-point. A 6-point grips the flats of the nut more securely, drastically reducing the chance of rounding off the corners. Pair it with a long breaker bar for the safe, steady leverage you’ll need.
How can I be 100% sure of the socket size before I buy a tool?
Measure the flat-to-flat distance on the nut with a caliper or ruler. If you can’t measure, take a clear photo with a common object (like a coin) for scale and show it to an RV parts desk. Never guess; a wrong size can strip the fitting.
Can I use an adjustable wrench instead of buying a large socket?
I strongly advise against it. These nuts are often recessed and extremely tight. An adjustable wrench is likely to slip or round the corners, creating a much bigger problem. The correct deep socket is a safety and success necessity for this job.
Wrapping Up Your RV Water Heater Project
Grab your water heater’s manual first and confirm its specific socket requirements before you buy any new tool. Keeping both a 1 1/2-inch and a 1 9/16-inch deep socket in your roadside toolbox will let you handle nearly every heating element or thermostat replacement job you encounter, regardless of the brand or model.