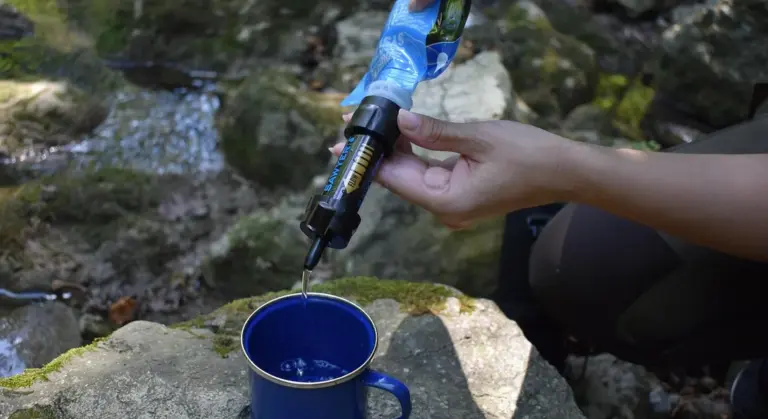
Portable Water Purifiers: Your Guide for Camping, Travel & Emergencies
You need clean water that won’t make you sick, whether you’re in the backcountry or waiting out a storm at home. Picking the right portable system is the difference between a great trip and a bad day.
We will cover how each type of purifier works, the pros and cons of pump filters, squeeze bottles, straws, and UV pens, and which one you should grab for your specific trip or emergency kit.
I’ve tested these systems on the trail and keep several ready in my own basement. Here’s the straight talk: no single gadget is perfect for every situation.
How Portable Water Purification Really Works: Filters, Purifiers, and Chemicals
Think of it like this: a filter is a physical barrier. A purifier is a chemical or light-based attack. You choose a home under-sink system based on your tap water’s problems. You choose a portable system based on your creek’s problems and how much weight you can carry.
A filter works like your kitchen strainer or a coffee filter. It catches things as water flows through tiny pores. A purifier works more like adding a disinfectant bleach solution to your well storage tank. It kills or inactivates microscopic threats that could slip through a physical filter.
Many of the best systems combine these methods, just like a good water filtration setup might have a sediment pre-filter and a carbon block.
The Filter Family: Blocking Contaminants Physically
Most portable filters use hollow fiber membranes or ceramic elements. Picture a bundle of microscopic straws with holes so small only water molecules can squeeze through. Dirt, parasites, and bacteria get left behind.
What a good mechanical filter reliably removes is the classic backpacker’s nightmare: bacteria and protozoa like Giardia and Cryptosporidium, along with sediment and cloudiness.
Here’s the catch. Viruses are much smaller. They can pass through the pores of a standard filter. Most filters also don’t touch dissolved chemicals, heavy metals, or salts. For that, you need an added purifier or a carbon stage.
Internal vs. External Carbon: Tackling Taste and Chemicals
Activated carbon is the same stuff in your fridge filter or pitcher. It works by adsorption, where chemicals stick to its massive surface area. It’s great for improving taste, odor, and reducing some pesticides or chlorine.
Carbon alone is not a purifier. It’s an enhancer. Many pump and straw filters have a carbon core inside the main filter cartridge. Some gravity systems use a separate carbon post-filter stage. If you hate the “pond” taste, you want a system with carbon.
Purification Methods: Killing What Filters Miss
Yes, there are purifiers that handle viruses along with bacteria and protozoa. This is critical for travel in developing countries or using water from crowded sources.
UV Light Purifiers use a short-wavelength light bulb to scramble the DNA of bacteria, viruses, and protozoa. Think of it as giving every microbe an instant, lethal sunburn. It’s effective and works in 60-90 seconds, but it needs batteries and doesn’t improve clarity or taste.
Chemical Treatment (iodine or chlorine dioxide tablets/drops) is the old reliable. It works like a slow-acting disinfectant that permeates the water. It kills viruses but requires a waiting period, often 30 minutes to 4 hours. It can leave an aftertaste. Water purification tablets work by releasing a disinfectant that neutralizes microbes as it mixes. With the recommended contact time, they can reliably purify drinking water.
Reverse Osmosis in a portable kit does exist, usually for marine or serious emergency use. It’s the only field method that reduces salts (making seawater drinkable). It’s very slow, wastes water, and is overkill for most backpacking.
Bacteria & Protozoa Removal Standards: Understanding NSF/EPA Claims
This is your compliance check. In the U.S., portable water purifiers are regulated as pesticide devices by the EPA. Reputable manufacturers test their products to NSF/ANSI standards, like Standard 53 or P231.
Look for a claim like “Tested to EPA Guide Standard and Protocol for Testing Microbiological Water Purifiers.” More importantly, look for the log reduction rating.
A “log reduction” tells you how effective the device is. For example, a 4-log reduction means it removes 99.99% of a target contaminant. You want a system that offers at least a 4-log (99.99%) reduction for bacteria and a 3-log (99.9%) reduction for viruses and protozoa. This stamp of approval is non-negotiable for safety.
What to Look for When You Choose a Portable Water Purification System
What are the key features to look for? Use this as your buyer’s checklist before you spend any money.
Contaminant Defense: What Are You Trying to Remove?
Match your tool to the threat. Your source water dictates your needs.
Speed, Weight, and Ease: The Practical Trade-Offs
Flow rate is everything when you’re thirsty. Pump filters might process 1 liter per minute. A gravity system can filter 2 liters in 5 minutes while you set up camp. A straw you drink through is instant but only for one person. A slow drip is fine for a family camp; it’s maddening on a lunch break.
Weight and packed size are king for backpacking. A pump filter is a brick. A soft flask with a screw-on filter is a few ounces. For a bug-out bag or car camping, weight matters less.
Ease of use breaks down into action: pumping is work, squeezing a bag is simpler, dropping a tablet is brainless but you wait, and pointing a UV wand is easy but needs power. Choose based on your patience and group size.
Filter Lifespan and the True Cost of Ownership
Filter lifespan and ease of maintenance are critical. A cheap $30 straw filter with a $25 cartridge that lasts 100 gallons is a worse deal than a $100 system with a $40 cartridge good for 1,000 gallons.
Always calculate the cost-per-liter. A good system might have a $0.05 to $0.10 per liter cost over its life. A bad one can be triple that.
Before you buy, check the availability and price of replacement cartridges. A proprietary filter you can’t find in two years turns your device into trash. The average upfront cost for a reliable, versatile system is between $80 and $150. You get what you pay for.
Matching the System to Your Adventure: Camping, Travel, and Emergency Kits
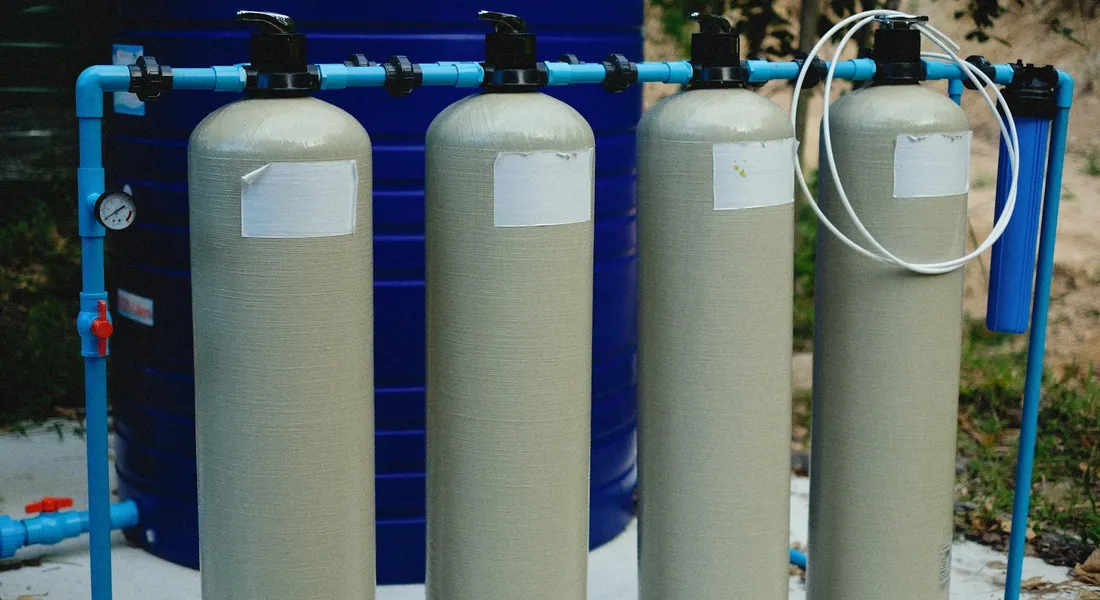
Pick the wrong tool and your trip becomes a chore. The right portable purifier feels like a natural part of your gear. Here’s how to match the system to your specific mission.
Best Systems for Lightweight Backpacking and Hiking
Which systems are best for lightweight backpacking? You need two things: light weight and fast filtering. Every ounce counts and you don’t want to spend half your day pumping water.
Squeeze filters, like the Sawyer Squeeze, are the top choice for most solo hikers. They weigh mere ounces, connect directly to a dirty water bag, and let you fill a bottle in under a minute. The filter lives in your pack’s side pocket for easy access.
Straw-style filters are even lighter but less versatile. You can only drink directly from the source. This is fine for a day hike, but not for filling a pot for dinner or a reservoir for the next day’s hike.
Pump filters versus gravity filters? For lightweight backpacking, gravity systems often win. They’re slightly heavier initially but require zero effort. Hang the dirty bag from a tree, connect the hose to the filter and a clean bag, and let physics do the work while you set up camp. A manual pump filter works, but after a long day of hiking, the last thing you want is another arm workout.
For multi-day trips, a squeeze filter system or a compact gravity setup offers the best balance of weight, speed, and convenience.
Best Systems for International Travel and Daily Use
Are there any all-in-one systems recommended for international travel? Yes, but the priority shifts. You need something compact for a suitcase, versatile enough to use on a questionable hotel sink, and effective against viruses, which are common in some regions and too small for standard filters to catch.
UV purifying pens are a traveler’s best friend. They look like a large marker, run on batteries, and can treat a liter of water in 90 seconds by scrambling the DNA of bacteria and viruses. They require clear water to work effectively, so always pre-filter murky water through a cloth or coffee filter first.
Purifying water bottles with built-in UV systems are another excellent option. You fill it, press a button, and the cap does the work. It’s a complete, self-contained unit. For daily use in areas with questionable tap water, these bottle systems or a simple charcoal filter bottle that improves taste are perfect. They’re not for muddy river water, but they’re ideal for making hotel tap water safe and palatable. Such alternative purification methods complement regular home water purification systems.
Most Reliable Systems for Long-Term Emergency Preparedness
What are the most reliable systems for long-term emergency preparedness? Forget weight. Think durability, high capacity, and simplicity. Moving parts break. You want a system that will work after years in storage and can produce gallons of water per day for a family.
Large gravity bag systems are the workhorses for home emergency kits. Think of a 6-gallon dirty bag feeding through a robust ceramic or hollow fiber filter into a clean reservoir. It has no pumps, no batteries. You just fill it and let it drip. Ceramic filters are especially good here; they’re durable and can be scrubbed clean many times.
Always keep chemical treatments, like iodine or chlorine dioxide tablets, as a compact backup. Their shelf life is long, and they’re your last line of defense if a primary filter fails. When used properly, iodine-based purification is safe and effective in a variety of emergency situations. This context helps you compare it with other backup options for water treatment.
Choosing a system for emergency prep uses the same mindset as choosing a water purification system for off-grid living: reliability and capacity trump everything else. The system in my own emergency kit is a two-bag gravity filter with a ceramic element, plus a unopened bottle of tablets tucked in the bag. It’s simple, and I know it will work. In a pinch, I’ll rely on purification tablets or boiling to supplement the filter when needed. Together, filters, tablets, and boiling cover safe water in any emergency.
The Portable Purification Maintenance Schedule and Red Flags
A filter isn’t a “set it and forget it” item. Ignore maintenance, and it will fail you when you need it most. Here’s your roadmap.
Your Filter’s Maintenance Schedule
Treat your filter like any other critical tool. Follow this schedule based on system type.
- Hollow Fiber Filters (Sawyer, Katadyn BeFree): Backflush with clean water after every significant trip. For heavy use, backflush during the trip. Always let the filter air dry completely before long-term storage.
- Ceramic Filters: Scrub the ceramic element with a clean scrubbing pad (no soap) whenever the flow rate slows. Check the O-rings and lubricate them with silicone grease annually.
- Gravity Systems: Backflush the filter cartridge regularly. Always empty and dry the bags completely before storage to prevent mold.
- UV Purifiers: Replace the UV bulb according to the manufacturer’s lifespan (usually after treating a certain number of liters). Keep the sensor window clean.
- Chemical Treatments: Check the expiration date on the bottle. Replace as needed. Most have a shelf life of 4-5 years.
Red Flags: Signs Your Portable System is Failing
Know these warning signs. A compromised filter can give you a false sense of security, which is more dangerous than having no filter at all.
- Drastic slowdown in flow rate that doesn’t improve with proper cleaning and backflushing.
- Any visible crack or damage to the filter housing, cartridge, or water bags.
- A permanent bad taste or odor in the output water, even after sanitizing the system.
- A failed integrity test. Some filters come with a syringe to perform a bubble point test. If it fails, the microscopic fibers are compromised.
- A UV light that flickers, dims, or won’t power on.
If you see any of these red flags, stop using the filter immediately. Replace the cartridge or the entire unit.
Cleaning and Sanitizing Your Gear
Cleaning removes dirt. Sanitizing kills microbes that grow inside. You need to do both.
To clean a hollow fiber or gravity filter: Backflush it with clean, filtered water using the provided syringe or by gravity. Use water, not air. For ceramic filters, gently scrub the candle under running water.
To sanitize and prevent mold: Mix a solution of 1 teaspoon of unscented household bleach (5-6% sodium hypochlorite) per liter of clean water. Flush this solution through the entire system-dirty bag, hose, filter, and clean bag. Let it sit for 5 minutes, then thoroughly flush the entire system with clean water to remove any bleach taste. Always dry every component completely before packing it away for storage. A damp bag left in a closet is a mold factory.
The DIY vs. Pro Verdict and When You Need a Bigger Solution
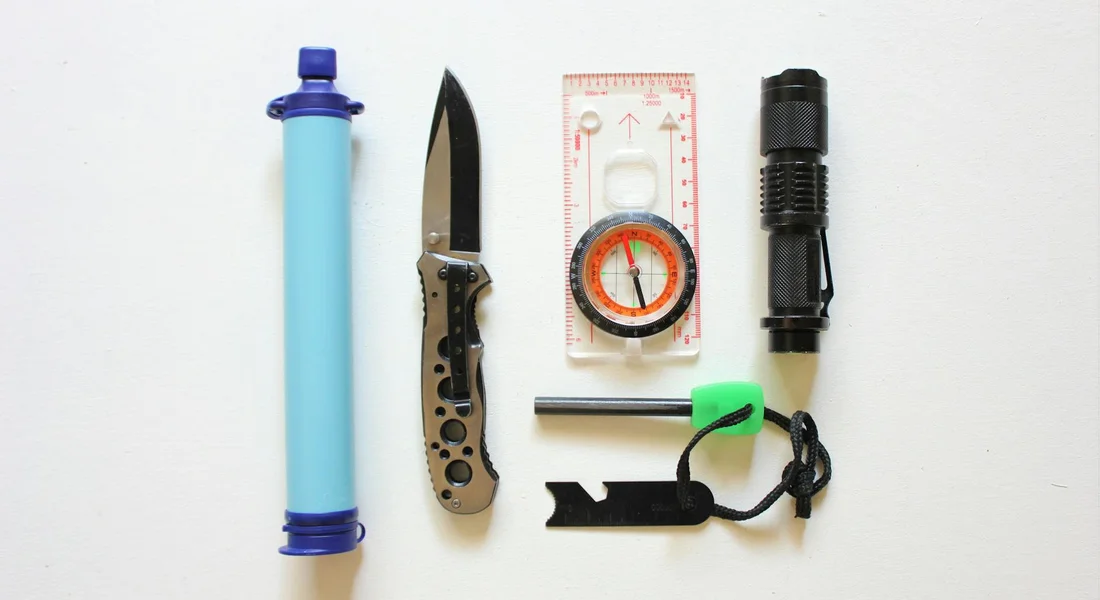
Using a portable water purifier is a classic DIY job. Think of it like changing a faucet aerator, not repiping your house. Here’s the breakdown. That same mindset also applies to building a serviceable DIY water filtration setup. In the next steps, we’ll outline how to build a DIY water filtration system you can maintain.
Difficulty Rating for Use: 2 out of 10. If you can follow basic instructions, you can use a pump, gravity bag, or drops. It’s designed to be simple.
Difficulty Rating for Cleaning/Repair: 5 out of 10. Disassembling a pump filter to replace a ceramic element or clean an internal valve takes more care. It’s like servicing a garden hose sprayer, needing patience and clean hands.
This work is firmly in the DIY homeowner’s wheelhouse. You don’t call a plumber to purify a bottle of creek water.
When to Seek Professional Help
This article is strictly for portable, off-grid systems. If you’re reading this because your home tap water always tastes bad or leaves stains, you have a different, bigger problem. A portable filter is a band-aid for a home water issue.
Your home’s water needs a permanent fix. That’s when you stop researching portable gear and start looking into what are the best home water filtration systems or is it the best water filtration system for home under $500. Installing an under-sink reverse osmosis unit or a whole-house sediment filter often requires a professional, just like installing a water softener does.
Your first step with any home water concern is always the same, test it. Get a water test kit for your well or municipality. Testing needs differ for well water versus municipal water, since each source has its own typical contaminants. Understanding which source you’re testing helps you apply the right tests before you buy any equipment. Assess your home water supply with a test, just like you’d visually assess a murky pond before filtering it. Know what you’re dealing with before you buy any equipment.
Setting Up and Using Your System Safely: A Step-by-Step Field Guide
Let’s get to the practical part. Here’s how to use your system correctly so it works when you need it most.
Pre-Filtering: The First, Critical Step
Never pour silty, muddy water directly into your filter. Those fine particles are like sandpaper on the delicate filter membrane inside. They’ll clog it fast.
Always pre-filter through a clean bandana, t-shirt, or dedicated coffee filter. Pour your source water through this cloth into a dirty water bag or container. It catches the big gunk. That pre-filtering is the first stage of a multi-stage purification process. From there, you’ll proceed through finer filtration steps to remove smaller particles and microbes. This simple act is the single biggest tip to extend the life of your expensive filter cartridge. I keep a dedicated bandana in my gravity bag kit for this exact reason.
Step-by-Step: Running a Gravity Bag System
- Fill the “dirty” water reservoir (usually a larger bag) with pre-filtered water.
- Hang the full dirty bag from a tree limb, tent pole, or rock ledge. The clean bag must be placed on the ground, at least 2-3 feet below it. Gravity needs this drop to work.
- Ensure the filter unit is connected between the two bags according to the manual. The arrow on the filter must point *down* toward the clean bag.
- Open the outlet valve on the dirty bag. Water will slowly begin moving through the filter.
- Wait. A 3-liter bag can take 15-20 minutes. Don’t disturb the system while it’s working.
- Once the clean bag is full, close the dirty bag’s valve. Your water is ready.
Step-by-Step: Using a Pump Filter
- Pre-filter your source water into a container or directly into the pump’s intake hose if it has a pre-filter screen.
- Prime the pump if required. Some models need a few dry pumps to create suction. Follow your manual.
- Place the intake hose into your source water. Place the outlet hose into your clean water bottle or bladder.
- Pump using a firm, full stroke. Short, fast strokes are less effective. A steady, rhythmic pace moves more water with less effort.
- Backflush in the field. When pumping gets very hard, stop. Many pumps have a simple backflush feature, often a switch or secondary plunger. Use it to push clean water backward through the filter, clearing surface debris. This can restore flow instantly.
Step-by-Step: Chemical Treatment and UV Light
For chemical drops or tablets (like chlorine dioxide):
- Add the treated water to a clear bottle. Cloudy water shields germs from chemicals.
- Add the exact number of drops or tablets per the bottle’s instructions for your volume. More is not better, it makes the water taste worse.
- Cap the bottle and shake it to mix.
- Wait the full contact time. This is critical. Most tablets need 30 minutes. For cold water or to kill tough cysts like Cryptosporidium, you may need to wait 4 hours. Read the label.
For UV Light Pens:
- Pre-filter your water into a clear container. The pen needs relatively clear water to penetrate.
- Insert the activated UV light into the water.
- Press the button and stir slowly. The “swirl” is mandatory. You must move the pen to ensure the UV light contacts every molecule of water. Hold it near the bottom and sides.
- Keep it swirling for the full cycle time (usually 60-90 seconds). The light will turn off when done.
- Your water is now safe. There is no wait time with UV.
Common Questions
How do I choose between a ‘filter’ and a ‘purifier’?
Match your tool to the threat. For most North American wilderness streams, a standard filter blocking bacteria and protozoa is sufficient. If you’re traveling internationally or preparing for a broad viral threat, you must use a purifier (UV light or chemical treatment) or a combo system that includes viral protection. Always check the manufacturer’s log reduction claims for the contaminants you expect.
What’s the true long-term cost of a portable system?
The upfront price is just part of it. You must calculate cost-per-liter by factoring in the price and lifespan of replacement cartridges. A reliable system typically costs between $0.05 and $0.10 per liter over its life. Before buying, ensure replacement filters are readily available and affordable, or your device becomes disposable.
Are there systems that remove viruses without using chemicals or UV?
Yes, but they are less common. Some advanced pump and gravity filters integrate an additional proprietary matrix, like electropositive media, to trap viruses physically. These are certified as purifiers. For absolute certainty, a combined mechanical filter and chemical or UV stage is still the most robust field-proven method for viral removal.
What should I prioritize for an international travel system?
Virus removal, compact size, and versatility for tap water. A UV purifying pen or bottle is ideal for its effectiveness and ease of use on clear water. For murky sources, carry a simple pre-filter cloth. This two-part approach ensures safety without the bulk of a full filtration system in your suitcase.
How do I keep my system ready for an emergency?
Follow the maintenance schedule: backflush filters after use, perform annual sanitization with a dilute bleach solution, and ensure all components are bone-dry before storage. Most critically, mark your calendar to check and replace chemical treatments and filter cartridges based on their shelf life or usage logs-don’t just store it and forget it.
Final Checks for Your Portable Water Kit
From my own camping gear and emergency bags, I always pick a purifier based on the worst water I expect to face, not the best. Test it with your home tap water first so you know it works when you really need it.
Written by Bob McArthur. Bob is a an HVAC and plumbing industry veteran. He has professionally helped homeowners resolve issues around water softeners, heaters and all things related to water systems and plumbing around their homes. His trusted advice has helped countless of his clients save time, money and effort in home water systems maintenance and he now here to help you and give you first hand actionable advice. In his spare time, Bob also reviews home water systems such as tankless heaters, water softeners etc and helps home owners make the best choice for their dwelling. He lives around the Detroit area and occasionally consults on residential and commercial projects. Feel free to reach out to him via the contact us form.