Sump Pump Horsepower: Pick the Right Size or Flood Your Basement
Your sump pump is your basement’s last line of defense, and buying one that’s too weak is just as bad as having no pump at all. A flooded basement is expensive, messy, and completely avoidable if you pick the right tool for the job.
This guide will cut through the confusion and show you how to match a pump to your specific basement. We will cover what horsepower really means, how to calculate your basement’s actual water threat, the pros and cons of different pump types, and the installation choices that make or break the system.
I’ve pulled dozens of undersized, burnt-out pumps from wet basements. The short takeaway is simple: oversizing your pump’s capacity is smart; undersizing it is a disaster waiting to happen.
Step 1: Diagnose Your Basement’s Water Problem
Forget your basement’s square footage. It does not matter. The real factors are how much water comes in and how fast it arrives.
You choose a pump based on the threat, not the room size. A small basement in a swamp needs a bigger pump than a large, dry basement.
Assess Your Flood Risk
Start by playing detective. Look for clues of past or current water issues.
- Has your basement flooded before? Even a small puddle counts.
- Check for a white, chalky residue on walls or floors. That’s efflorescence, a sure sign of past moisture.
- Do you smell a persistent musty or earthy odor? That’s mold and mildew from dampness.
- Look for dark stains on concrete or warping on any wood.
If you see these signs, your basement is actively fighting water. Plan for a serious pump.
Check Your Local Water Table
The water table is the underground level where the soil is completely saturated. If it’s high, your sump pit will fill constantly.
You can get a good estimate with two simple checks.
- Call your local building or zoning department. Ask about the typical water table height in your neighborhood.
- Talk to your neighbors, especially those with basements. Ask if their sump pumps run often during rainy seasons.
If neighbors report frequent pump cycles, you likely have the same high water table. Prepare for a workhorse pump.
Understand Your Floor Type
How water gets in depends heavily on your basement floor.
A dirt floor basement is the highest risk. Water seeps up directly from the ground. It can come in fast and dirty. You need a pump rated for solids (often called a “dirty water” or sewage pump) and with high capacity.
A concrete slab is more common. Water usually enters through the cove joint (where the wall meets the floor) or through cracks. It often comes in slower, giving the pump more time to catch up, but during a heavy storm the volume can still be huge. My own basement has a slab, and during a hurricane remnant, the pit filled every 90 seconds.
Answer: Is My Basement Prone to Flooding?
Put your clues together. Frequent pump cycles for neighbors, visible dampness, and a history of wetness mean yes, you are prone. In that case, buy for the worst storm you can imagine, not for a drizzle. If your basement is bone dry year round with a low water table, a basic, smaller pump may suffice as a safety net.
Step 2: Understand Sump Pump Specs – It’s Not Just About HP
Horsepower is a sales tag. It’s not a useful measure for choosing your pump. A poorly designed 1 HP pump can be weaker than a good 1/2 HP model.
Focus on two real specs: Gallons Per Hour (GPH) and Vertical Lift.
Gallons Per Hour (GPH) Capacity
This tells you how much water the pump can move in an hour. It’s the core number. To figure out what you need, you must estimate your worst case water inflow.
Here is a simple method. During the next heavy rain, time how long it takes your sump pit to fill. If it fills 10 inches in 60 seconds, and your pit is 18 inches in diameter (make sure your pit is adequately prepared and dug), you can calculate a rough GPH need.
For most homeowners, a reliable target is a pump rated for at least 3,000 to 5,000 GPH at a 10-foot lift. This handles serious inflow. In residential settings, typical well pump GPM rates show how many gallons per minute the home can receive. Matching GPM to household demand helps ensure a steady supply. For very high water tables or flood zones, look for 5,000 GPH or more.
Vertical Lift (Head Height)
This is the height the pump must push water straight up from its base to where the discharge pipe exits your house. Pump power drops sharply as lift increases. A pump rated for 5,000 GPH at 5 feet of lift might only move 2,000 GPH at 15 feet.
How to measure it:
- Place a tape measure at the bottom of your sump pit (where the pump sits).
- Run it straight up to the point where your discharge pipe goes through the basement wall or sill.
- That distance in feet is your vertical lift. Add 2-3 feet for the rise from the pit to the basement floor.
Always check the pump’s performance chart. Buy based on its GPH rating at your specific vertical lift, not the biggest number on the box.
Discharge Pipe Friction Loss
Every foot of horizontal pipe and every bend creates friction, stealing power from your pump. Think of sucking a thick milkshake through a long, twisted straw.
Ten feet of horizontal pipe can reduce power as much as one foot of vertical lift. A 90-degree elbow is equal to about 5-8 feet of horizontal pipe.
Keep your discharge run as short and straight as possible. Use 45-degree elbows instead of 90s where you can. Use smooth, wide diameter pipe (1.5-inch is standard, 2-inch is better for long runs).
Answer: How Do I Calculate Necessary GPH and Measure Lift?
To measure lift, use a tape measure from the pump base to the discharge point outside. Be honest with the total height.
To calculate GPH, you need an estimate of inflow. If you cannot time your pit, use your risk assessment from Step 1. High risk means high GPH. When in doubt, size up. A slightly oversized pump running in short cycles is better than an undersized pump running non stop and burning out during a flood.
Find a pump whose performance chart shows your needed GPH at your measured lift. That is your correct pump.
Step 3: Match the Pump to Your Situation – HP and Type
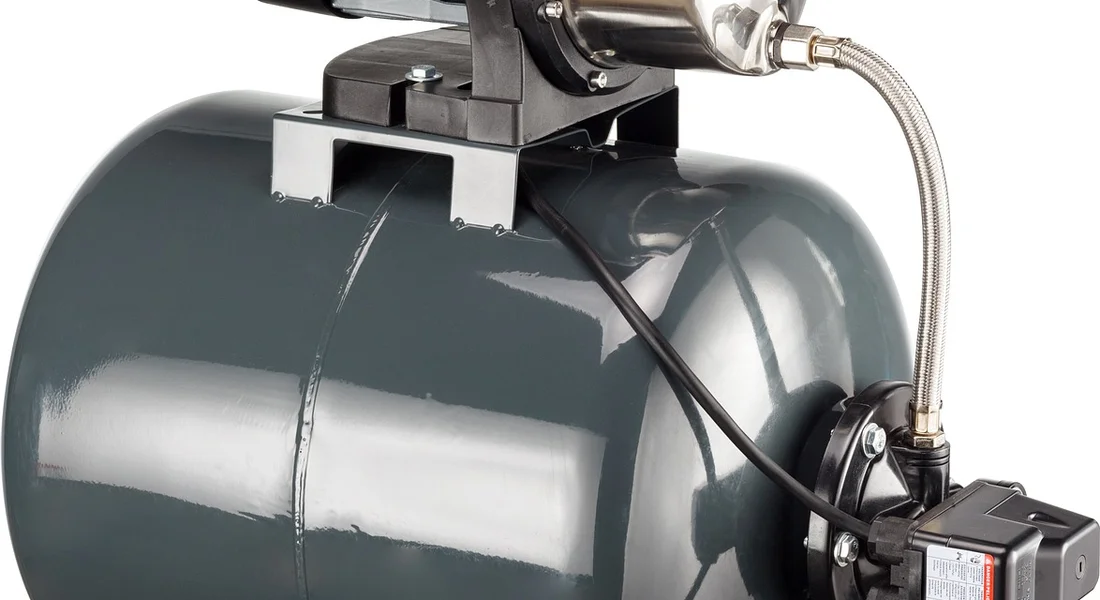
Horsepower (HP) isn’t just about raw power. It’s about matching the pump’s capacity to move water against the specific head pressure in your setup. A bigger pump isn’t always better. An oversized pump can short-cycle, wearing out faster. Understanding the psi and water requirements of a submersible pump helps you pick a unit that fits your system and keeps operation efficient.
| 1/3 HP | 1/2 HP | 3/4 HP |
| Best for occasional, slow seepage or a crawl space with minimal water. | The workhorse for most finished basements with moderate, predictable water intrusion. | Needed for heavy, fast water intrusion, a very deep basement (high vertical lift), or long discharge runs. |
| Good for lifts under 10 feet. | Handles lifts from 10 to 15 feet efficiently. | Manages lifts over 15 feet and can move high volume quickly. |
| My neighbor’s seasonal spring dampness is handled perfectly by a 1/3 HP. | This is what I installed in my own home. It handles our typical Midwest spring runoff without breaking a sweat. | I recommend this for homes at the bottom of a hill or with known serious flooding history. |
Submersible vs. Pedestal: The Noise and Longevity Choice
Should you choose a submersible or pedestal sump pump? The motor sits in different places, and that changes everything. Beyond the choice, understanding the necessity and installation needs is essential. That’s where proper placement and setup come into play for a reliable sump pump system.
- Submersible: The entire unit sits underwater in the pit. It’s quieter because the water muffles the sound. It stays cooler, which can extend its lifespan. They’re more expensive but are the standard choice for living areas.
- Pedestal: Only the pump impeller is in the water. The motor sits on a long column above the pit lid. They are louder, less expensive, and easier to service because you can see the motor. They are good for narrow, shallow pits where a submersible won’t fit.
For a finished basement where you spend time, a submersible pump is the only reasonable choice due to noise.
Your Sump Pit Diameter Matters
You can’t just drop any pump into any hole. Most standard sump liners are 18 inches in diameter. A standard submersible pump fits fine. If you have an older, narrower pit (like 14 inches), your pump options are limited, often to a pedestal style. Always measure your pit’s inner diameter before buying. The pump needs space for water to flow around it and for the float switch to move freely. To ensure reliability and safety, follow best practices for sump pump pit installation. These guidelines cover pit sizing, sealing, and ensuring proper water flow around the pump.
Step 4: Plan the Installation – Tools, Codes, and Backup
Failing to plan is planning for a wet basement. Get your ducks in a row before you start.
Tools and Materials Checklist
Gather these items first:
- Sump pump (with built-in check valve if possible)
- PVC discharge pipe (1.5-inch is standard)
- PVC fittings, primer, and cement
- Separate check valve (if not built-in)
- Hose clamps (stainless steel)
- Pipe cutter or hacksaw
- Gravel for pit base
- GFCI electrical outlet (required by code)
- Wire nuts and electrical tape
Key Plumbing Code Points You Must Follow
Ignoring code can cause damage or get you fined.
- Discharge Location: Water must discharge at least 10 feet away from your foundation. It should flow away from your and your neighbor’s property.
- Check Valve: A check valve is mandatory on the discharge pipe. It prevents water in the pipe from flowing back into the pit after the pump shuts off, which causes rapid cycling and pump burnout.
- Cover: The sump pit should have a sealed lid. This prevents debris from falling in and reduces radon gas and moisture from entering your home.
The check valve is non-negotiable. Without it, your pump will work itself to death.
Backup Pump: Your Insurance Policy
A single pump is a single point of failure. During a major storm, power often fails. A backup pump is critical.
- Battery Backup: A secondary pump powered by a deep-cycle marine battery. It kicks on if the primary fails or power is out. You must test and maintain the battery.
- Water-Powered Backup: Uses your home’s municipal water pressure to create a suction and eject water. It requires no electricity but uses hundreds of gallons of water. It’s only an option if you have city water (not a well) and good pressure.
I run a primary 1/2 HP submersible with a battery backup. It’s saved my basement twice in ten years.
Power and Budget Reality Check
Your pump needs a dedicated 120-volt GFCI outlet. Do not use an extension cord. For the pump and a battery backup, you may need an electrician to install a new outlet.
Budget at least $150-$300 for a good primary pump. A quality battery backup system adds $400-$800. Installing a whole new pit and discharge line? That’s a $1,500-$3,000 job for a pro. Weigh the cost of professional installation against the value of everything in your basement.
The DIY vs. Pro Verdict
Difficulty Rating: 6/10.
Swapping out an old pump for a new one of the same type is a straightforward DIY job. It’s basically unplugging the old, lifting it out, and dropping the new one in, reconnecting the pipe and power. If you’re replacing a well pump, ensure the new unit matches the same type and capacity so the switch-over is seamless.
Installing a brand new sump pit, digging a discharge line to daylight, and tying everything in is where it gets complex. That often requires concrete work, trenching, and knowing local code depth requirements for burying the sump drainage line to divert water.
A licensed plumber is legally required if you are connecting your discharge line directly to a municipal sewer or storm line. This is rarely allowed anymore, but if it’s your plan, you must involve a pro. For most homeowners, the DIY line stops at simple pump replacement.
Step 5: Keep It Running – The Maintenance Roadmap

A sump pump is not a set-it-and-forget-it piece of gear. A little routine care prevents most failures. I schedule a quick check with my other seasonal home tasks. I often test the sump pump during these checks. It takes 15 minutes and buys huge peace of mind.
Your Quarterly Check-Up
Do this quick inspection every three months, or before any forecasted heavy rain.
- Test the Pump: Slowly pour a 5-gallon bucket of water into the pit. The pump should kick on, pump the water out, and shut off automatically. If it doesn’t, you have an immediate problem.
- Listen and Look: Listen for smooth operation. Look for any new debris in the pit that could clog the pump screen.
- Check the Check Valve: After the pump shuts off, listen for a single “thump.” That’s the check valve closing to stop water from flowing back into the pit. If you hear continuous trickling, the valve is failing.
Your Annual Deep Clean
Once a year, typically in early fall, do a more thorough job.
- Disconnect Power: Always unplug the pump and any backup system before you touch anything.
- Clean the Sump Pit: Use a shop vac or a bucket to remove any silt, gravel, or debris from the bottom of the pit. This junk clogs pumps fast.
- Inspect and Clean the Pump Screen/Intake: Wipe away any grime from the pump’s intake screen or opening. A clogged screen makes the pump work harder and overheat.
- Test the Backup System: If you have a battery or water-powered backup, test it according to the manufacturer’s instructions. Unplug the main pump and let the pit fill to trigger the backup.
Make a habit of checking the exterior end of your discharge line every spring and fall for leaves, rodent nests, or ice blockages. A clear exit path is non-negotiable.
The “Red Flag” Troubleshooting Guide
Your pump will often tell you it’s in trouble before it quits. Here are the five warnings you must not ignore.
- Pump runs constantly but the water level doesn’t drop. This usually means a clogged intake screen, a stuck check valve, or a failing impeller. Check for debris first.
- Pump cycles on and off every few seconds (rapid cycling). The float switch is likely stuck on the pump or the pit wall, or the check valve is broken and water is flowing back in. This will burn out the motor quickly.
- Strange grinding or rattling noises. This is a bad sign. It often means a worn bearing, a damaged impeller, or debris caught in the pump volute. The unit may need replacement soon.
- Visible rust or corrosion on the pump housing. Corrosion weakens the casing and is a sign of age or excessive moisture. Start shopping for a new pump.
- No operation during a manual test. If you pour water in and nothing happens, check power first (outlet, GFCI, breaker). If power is good, the float switch or the motor itself has failed.
The Water Science Snippet – Head Pressure and GPH
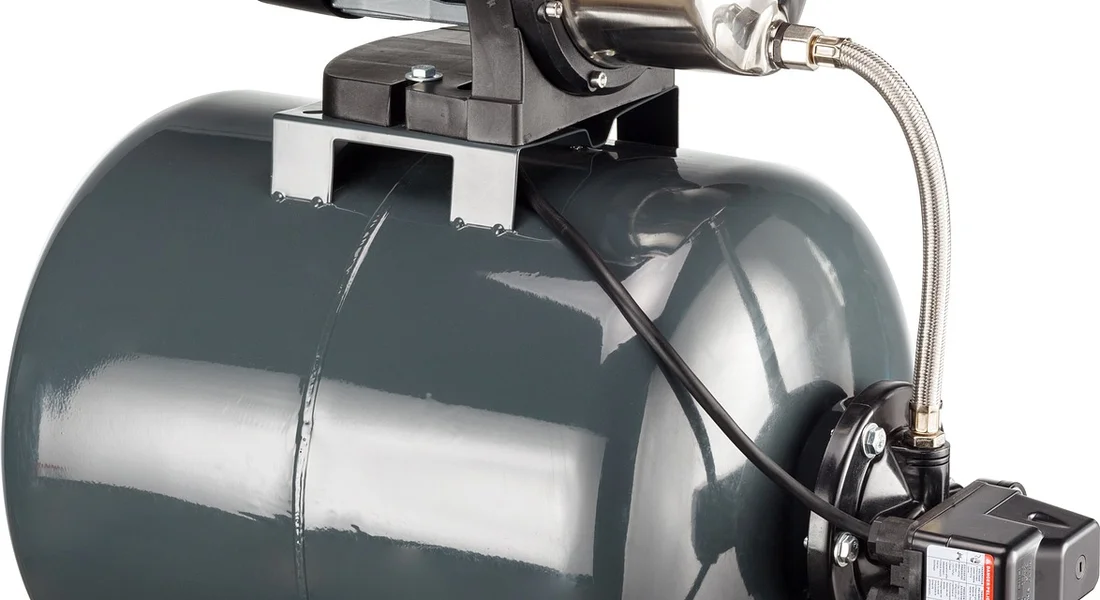
Horsepower alone is a misleading number. The real metric is how many gallons per hour (GPH) a pump can move against the specific “head pressure” in your home.
Water is heavy. Every vertical foot your pump must lift the water creates “head pressure” that the motor must overcome. Think of blowing water up a straw. A short straw is easy. A longer straw (a higher lift) is much harder. Your discharge pipe is that straw.
You need two measurements: the vertical lift from the pump to where the pipe exits your house, and the total horizontal run of the pipe. Manufacturers provide pump performance charts. You match your total feet of head on the chart to find the real-world GPH that pump will deliver for you. This data, not the horsepower rating, tells you if a pump is strong enough for your basement.
Recommended Products and What Helped Me
After you know your horsepower, focus on the right components. A reliable sump pump is about build quality and smart features, not just raw power. Also, understanding watts-to-horsepower conversion helps you compare pumps more fairly and gauge true efficiency.
Cast Iron Submersible Pumps for Longevity
For a primary pump, choose a cast iron submersible model. The cast iron construction resists corrosion far better than plastic or stainless steel housings. A cast iron pump will outlast cheaper models, saving you money and hassle over a decade or more. They are heavier, but that weight is a sign of durability. Install it securely on a solid base, like a flat paver stone, to prevent it from shifting in the pit.
Pumps with a Vertical Float Switch
How the pump turns on is critical. Avoid pumps with a tethered float switch. That floating ball on a cord can get stuck against the pit wall or discharge pipe, failing to activate the pump. A vertical float switch, which moves up and down on a fixed rod, is far more reliable and less likely to get jammed. It gives you consistent, predictable cycling. Test it monthly by lifting the float by hand to make sure the pump kicks on immediately.
Battery Backup Systems with Alarm Alerts
Your primary pump is useless during a power outage. A separate battery backup system is non-negotiable. Look for a backup unit with an integrated alarm, either audible or with a remote alert. The alarm tells you the main power is out and the battery is doing its job, so you’re not caught by surprise. Maintain the battery by checking the water level in lead-acid models every few months and testing the entire system twice a year.
What Helped Me
My own basement had a small, older pump that couldn’t keep up during a heavy spring rain. I replaced it with a 1/2 HP cast iron submersible. The real game-changer wasn’t just the new pump. The key was extending the discharge pipe another 15 feet further from my house foundation. This stopped water from simply cycling back into the soil right next to the basement. That, plus a simple battery backup unit with a loud alarm, has given me genuine peace of mind for years without a single failure.
Common Questions
How does my basement floor type affect which pump I need?
A dirt floor is the highest risk, allowing water to seep up directly and often carrying sediment. You’ll need a pump rated for “solids” or “dirty water.” A concrete slab is more common, but water can come in fast through cracks or joints during a storm, so don’t underestimate the needed capacity.
Why does the length and shape of my discharge pipe matter so much?
Every foot of horizontal pipe and every elbow creates friction, robbing your pump of power. A long, crooked run can cut performance in half. Always use the widest recommended pipe (usually 1.5″ or 2″) and minimize sharp 90-degree bends to keep your pump working efficiently.
What power source do I need, and is a special outlet required?
Virtually all residential sump pumps use a standard 120-volt outlet. The critical safety rule is that it must be a GFCI outlet to prevent electrocution. Never use an extension cord; the pump must plug directly into a dedicated, properly grounded GFCI receptacle.
Do I really need a backup pump, or is that overkill?
If you use your basement for storage, laundry, or living space, a backup is your insurance policy. The two most common causes of failure are a power outage or primary pump burnout. A battery backup system is the most reliable solution for keeping your basement dry when it matters most.
What happens if my sump pit is too narrow for the pump I want?
The pump and its float switch need space to operate correctly. A standard 18-inch diameter pit fits most submersible pumps. If your pit is narrower (e.g., 14 inches), your choices may be limited to a pedestal pump or a specific small-footprint submersible-always measure first.
Verify Your Sump Pump Horsepower Choice
First, estimate your basement’s water volume using its square footage and your local water table height. Then, pick a pump with horsepower that meets this need, favoring consistent performance over maximum power to prevent short cycling.