Winterize Your RV and Pool Water Lines: A No-Nonsense Guide
A cracked pipe from freezing can wreck your RV or pool. Let’s get it sealed up before the cold sets in.
We will cover draining every line, using RV antifreeze properly, and winterizing pool pumps and filters.
I’ve fixed countless freeze jobs as a water tech. Forget to blow out the pool lines and you’ll be replacing them come spring.
The First Freeze is Coming: Timing and Why It Matters
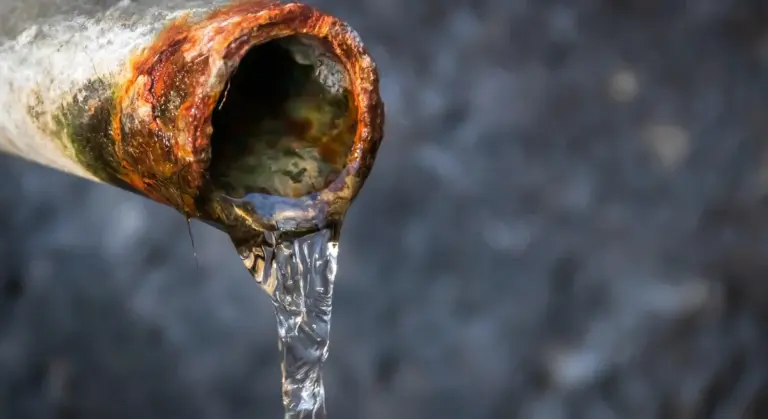
The trigger is not a single cold night. It is sustained temperatures at or below 32°F (0°C). Water expands when it freezes. This expansion has immense force. Contained inside a pipe, pump, or tank, that force has one outcome: it breaks things.
Concrete risks include split PVC pipes, cracked brass fittings on your water pump, a ruptured water heater tank, and shattered plastic valves on appliances. The damage is often hidden until a warm day turns it into an indoor flood or a costly spring discovery.
An RV is a full casualty waiting to happen. It sits idle, completely exposed, with water in every tiny line and valve. An in-ground pool has some protection. The earth insulates the main plumbing, but the above-ground equipment pad with its pump, filter, and heater is just as vulnerable as an RV system.
This is not a repair. This is preventative maintenance. A weekend of work now saves thousands in water damage and replacement parts later, especially when you know when to repair or replace your water heater.
Your RV Winterization: A Step-by-Step Guide for Dry and Safe Pipes
Difficulty Rating: 6/10. If you can follow a recipe and use basic tools, you can do this. You call a pro for complex coach layouts, for peace of mind, or if the word ‘wrench’ makes you nervous.
Tools and Material Checklist:
- Non-toxic RV antifreeze (pink, not automotive). Get more than you think.
- Water pump converter kit or a simple bypass tool for your specific RV.
- Adjustable wrench and basic socket set.
- Air compressor with a regulator (crucial).
- Drain pan, funnel, and a pile of shop towels.
How Do I Drain Every Last Drop from My RV Water Lines?
Order matters. You work from the source outward.
- Drain the fresh water tank completely using its drain valve.
- Turn off the water heater. Let it cool. Then, drain it via the drain plug or valve. This is where you check the anode rod for wear and replace it if it’s more than 50% gone.
- Engage the water heater bypass valves. This keeps antifreeze out of the heater tank later.
- Open all low-point drain valves. You usually have one for the hot line and one for the cold line underneath the RV.
- Go inside. Open every single faucet and tap: kitchen cold, kitchen hot, bathroom cold, bathroom hot. Leave them open.
The system is now gravity-drained. But gravity leaves water in traps, dips, and the water pump. That’s your next target.
Do You Have to Blow Out RV Water Lines? The Air vs. Antifreeze Debate
Can you just blow out the lines? Yes, but it’s a gamble when it comes to removing air from home water lines. An air compressor is excellent for forcing the bulk of water out of low spots and long lines. It does not guarantee every droplet is gone. A tiny bead of water in a tee fitting can freeze, expand, and crack the fitting.
Using only air is better than doing nothing, but using antifreeze is the guaranteed seal for a fully protected system. I use both: blow out the lines first, then fill them with antifreeze. Here is how you blow out lines safely.
- Set your air compressor regulator to a maximum of 50 PSI. More pressure can damage the plumbing.
- Connect the compressor to the city water inlet using a blow-out adapter.
- With all faucets still open, apply air in short bursts. You will see water and mist spray from each faucet.
- Work through each faucet until only air comes out. Start with the closest faucet to the inlet and move to the farthest.
Your lines are now mostly dry. Time for the pink stuff.
Pushing Pink: How Do I Add Antifreeze to the RV Plumbing System?
You will use your RV’s own water pump to drink the antifreeze. Install the water pump converter kit according to its instructions. This lets the pump suck from a jug of antifreeze instead of the empty fresh tank. It’s a handy trick to jump-start your system when you face RV water system issues.
- Make sure the water heater is still bypassed.
- Turn the water pump on.
- Go to the faucet farthest from the pump (usually the bathroom). Open the cold side and run it until solid pink antifreeze comes out. Close it.
- Open the hot side at the same faucet. Run it until pink appears. This process naturally bleeds air from the RV lines as the liquid pushes it out.
- Repeat this cold-then-hot sequence at every fixture: the kitchen sink, the toilet (flush until pink is in the bowl), the shower, any outdoor shower, and washing machine connections if you have them.
- Turn off the water pump.
The plumbing is now protected. The antifreeze sits in all the P-traps and low points where water hides.
Final RV Touches: Toilet, Tanks, and External Connections
Your work is not done. The holding tanks and external ports need attention.
For the black and gray tanks: drain them completely at a dump station. Rinse them well with a tank flush or by adding and draining fresh water. Then, add about a gallon of RV antifreeze directly into each tank through the toilet or a sink drain. This protects the tank seals and the bottom of the valve. Make sure to use the proper amount of antifreeze for RV water systems.
Remove any inline water filter cartridge from the system. It will ruin the filter and can clog lines. Dump any remaining antifreeze from the water pump converter jug and pour a cup down each drain to protect the P-traps.
Finally, cap all external inlets. Use threaded plastic caps on the city water and black/gray tank flush ports. Cover the external shower connection. This keeps freezing wind and moisture from creeping into those fittings. Your RV’s water system is now hibernating safely. Next up is RV winterize water lines pressures, including safe pressure targets and checks before storage. We’ll also walk through verifying the system holds pressure without leaks.
Your Pool Winterization: Shutting Down the Underground Plumbing
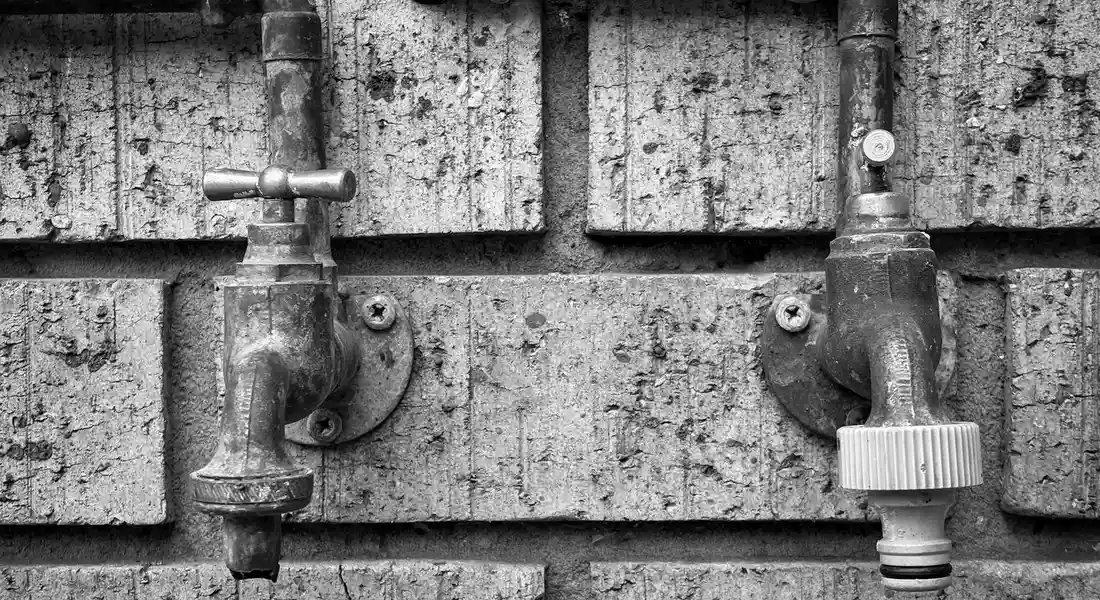
This is where the real plumbing work happens. Underground pipes are a major investment, and frozen water will crack them. Managing air pressure and knowing your system’s layout is critical. I’ve seen DIY jobs fail because someone missed a return line or used too much pressure and blew apart a union. If your setup has heaters, cleaners, or multiple pumps, call a pro.
- Difficulty Rating: 7/10. Managing the air compressor and understanding the plumbing layout is key. Pros are recommended for complex setups.
- Tools & Material Checklist: Shop vac or air compressor with regulator, pool antifreeze (propylene glycol, NOT RV type), winterizing plugs, expansion plugs, duct tape, winter pool cover.
Draining and Blowing Out Pool Lines: Getting the Water Out
First, use your filter’s waste setting to lower the water level about 6 inches below the bottom of the skimmer opening and the return jets. This stops water from simply flowing back into the lines you’re trying to empty.
Now, get the water out of the pipes. You can use a heavy duty shop vac as a blower, but a small air compressor with a regulator is better for long runs.
- Turn off the pool pump’s circuit breaker. Disconnect the pump.
- Open the air relief valve on your filter. Remove the pump lid and the filter’s drain plug.
- Start with the skimmer line. Block off other inlets at the pump pad with winterizing plugs. Attach your blower to the skimmer line port.
- Turn on the air. Go to the skimmer. You will see water and air shoot out. Keep blowing until you only see a misty spray of air. That’s your signal the line is clear.
- Repeat this process for each return line and the main drain line. Work on one line at a time, plugging the others at the equipment pad.
Too much pressure can damage pipes. Set your compressor regulator to no more than 20-25 PSI. If you don’t have a regulator, use short bursts of air.
Sealing the Deal: Adding Pool Antifreeze and Protecting Equipment
Blowing gets most water out, but low spots can hold water. This is where pool antifreeze saves you.
After blowing out a skimmer line, quickly pour propylene glycol pool antifreeze directly into the skimmer hole until it’s full. Immediately screw in a winterizing plug or Gizzmo to seal it. The antifreeze will settle in the pipe’s low points and prevent any residual water from expanding. Do the same for return lines if they have low spots.
Your pump and filter must be completely empty. Leave the drain plugs out and store them in the pump basket so you find them in spring. If you can, disconnect the pump and bring it indoors. For the filter, open the air relief valve and the multiport valve to drain.
Above ground pool pipes are the most vulnerable. Draining them isn’t enough. Disconnect all hoses, drain them, and store them inside your garage or basement. Insulation alone won’t protect them in a deep freeze. Even insulated pipes can freeze in extreme conditions, so it’s crucial to thaw frozen pipes properly and take measures to prevent freezing.
The Winterizer’s Toolbox: What You Really Need
Using the right tool for the job is the difference between a safe winter and a spring disaster.
For blowing out lines, you need consistent air flow. A small 3-gallon pancake compressor is great for RV lines, but it cycles on and off too much for long pool pipes. A larger 20+ gallon shop compressor maintains pressure better. A quality shop vac on ‘blower’ mode can work for shallow lines if you don’t have a compressor. The non-negotiable item is an in-line regulator for your compressor to prevent over-pressurizing the pipes.
The antifreeze choice is critical. RV Antifreeze (usually pink) is made for potable water systems. Pool Antifreeze (usually blue or green) is propylene glycol for non-potable lines. They are not the same. Pool antifreeze is non-toxic but not meant for drinking. Never put RV antifreeze in your pool plumbing, and never put pool antifreeze in your RV’s fresh water tank.
Don’t forget the cheap stuff. This is your essential list:
- Winterizing Plugs: Get a kit with various sizes for skimmers and return jets.
- Pipe Insulation Foam: For exposed above-ground pipe sections you can’t remove.
- Waterproof Duct Tape: To seal that insulation thoroughly. Regular duct tape fails in the wet.
Red Flags and Spring Wake-Up Calls

You did the winterization work, but winter always has the final say. These are the problems you find when you open everything back up. Spotting them early saves you from bigger messes and repair bills.
The “Red Flag” Troubleshooting Guide
Here’s what to look for and what each sign means for your system.
1. You see antifreeze leaking from a pipe joint in spring.
This is a direct failure. That pipe or fitting cracked over the winter. The pink antifreeze is now showing you exactly where the break is. This leak confirms a physical crack caused by frozen water expanding inside the line. Your first job is to stop the water source before you fix the pipe.
2. The RV water pump runs but no water comes out.
You turn on the pump and hear its normal hum, but nothing flows from the faucets. This points to two common freeze-related issues. First, there could still be an ice plug blocking a line, often near an outside wall or unheated storage bay. Second, and more serious, the pump itself could be damaged. Ice can crack the pump’s internal housing or impeller. Listen for the pump straining or a high-pitched whine, which often means it’s damaged and trying to push against a solid block of ice or a broken part.
3. Your pool equipment pad has a crack in the pump housing or filter tank.
This is classic freeze damage to pool equipment. Water left in the pump basket or filter can freeze and expand with tremendous force. A cracked pump volute (the main housing) or a filter tank with a vertical crack means the unit is compromised. Do not attempt to run this equipment, as it will leak massively and could fail catastrophically under pressure. The plastic is brittle from the crack and stress.
4. A faucet won’t flow at all when you de-winterize.
You’ve opened the main valves and bled the air, but one specific faucet or shower head is completely dry. This isn’t a simple airlock. A completely dry fixture usually means the water supply line feeding it froze solid and burst somewhere you can’t see, like inside a wall or under the floor. The water is taking the path of least resistance and leaking out of the burst section instead of reaching the faucet.
5. There’s a constant drop in pool water level over winter.
You closed the pool, but you notice the water level keeps sinking week after week, beyond normal evaporation. This is a slow-motion red flag. A steady water loss during the off-season almost always signals a leak created when ice formed in a return jet, skimmer line, or underground pipe. The ice expanded and cracked the fitting or pipe, and now water is slowly seeping out.
First Steps for a Freeze-Damaged Pipe
If you confirm any crack or leak, your immediate action is always the same. Shut off the water source right away. For an RV, that’s the main shut-off valve and the 12V power to the water pump. For a house or pool line, find the main shut-off valve for that section and close it. This stops the flow and prevents water damage while you figure out the repair. Only after the water is off should you assess the damage location and plan the fix.
When to Call a Professional
Some jobs need a pro with the right tools and experience. Call a licensed plumber or pool technician for two main reasons. First, for any crack or leak in a pressurized water line, especially behind walls or underground. Improper repair of a pressurized line will always fail again, often causing major water damage. Second, if you are not completely confident in tracing your pool’s underground plumbing loops. Finding a leak in a buried pool pipe requires specific electronic leak detection equipment that most homeowners don’t own. It’s faster and cheaper in the long run to have them locate it precisely.
Common Questions
How do I add antifreeze to the RV plumbing system?
Use a water pump converter kit to draw RV-specific (pink) antifreeze from a jug, not your fresh tank. With the water heater bypassed, turn on the pump and run each faucet cold then hot until you see solid pink. Don’t forget to flush the toilet until the bowl has antifreeze to protect the valve.
What should I do with the pool pump and filter for winter?
They must be completely drained. Remove all drain plugs and the pump lid, store the plugs inside the pump basket so you don’t lose them, and leave the filter’s air relief valve open. If possible, disconnect and store the pump indoors for the best protection.
How do I protect the RV’s external water connections?
Cap them. Use threaded plastic caps on the city water inlet and any tank flush ports. Cover the external shower connection with a designed cap or bag. This simple step prevents wind-driven moisture from freezing inside the fittings.
What is the proper way to blow out the pool lines with air?
Always use a regulated air compressor set to a safe pressure-never exceed 25 PSI. Work on one line at a time by plugging the others at the equipment pad, and blow until only a misty spray comes from the jet or skimmer. This forces out the bulk of the water before adding antifreeze to low spots.
How do I protect above-ground pool pipes from freezing?
Drain them completely, but that’s often not enough. The safest method is to disconnect all hoses, drain them fully, and store them indoors. If you cannot remove them, insulate thoroughly with foam sleeves and waterproof tape, but know this is a last resort, not a guarantee, in a deep freeze.
Get It Done Right: A Final Word on Winterizing
Start your winterization early and never rush the job. A methodical, patient approach is your best defense against split pipes and a costly spring. Take the time to double-check your work on both the RV and the pool, because one missed valve or bit of leftover water is all it takes for a freeze to cause major damage — especially in delicate systems like tankless RV water heaters.
Relevant Resources for Further Exploration
- Blowing out water lines for winterization | Jayco Owners Forum
- How to Winterize Your Pool’s Plumbing Lines – PoolSupplies.com
- WINTERIZING: is there a best order when running RV fluid through FRESH water lines? | Trawler Forum
- Winterize your RV with compressed air – iRV2 Forums
- RV winterizing by blowing air through water lines. Easy and safe!Funky Junk Interiors
Bob McArthur
Bob is a an HVAC and plumbing industry veteran. He has professionally helped homeowners resolve issues around water softeners, heaters and all things related to water systems and plumbing around their homes. His trusted advice has helped countless of his clients save time, money and effort in home water systems maintenance and he now here to help you and give you first hand actionable advice. In his spare time, Bob also reviews home water systems such as tankless heaters, water softeners etc and helps home owners make the best choice for their dwelling. He lives around the Detroit area and occasionally consults on residential and commercial projects. Feel free to reach out to him via the contact us form.