Clean Your Fridge Water: A No-Nonsense Guide to the Dispenser and Lines
Your refrigerator water tastes funny or flows slow. You need to clean it now.
Follow these steps and your water will be clear again. We will cover gathering the right tools, cleaning the dispenser parts, flushing the supply lines, and testing your work.
I’ve cleared more clogged lines than I can count. Doing this yearly saves you from a costly repair down the road.
Why Your Fridge Water Tastes Funny and Why Cleaning Matters
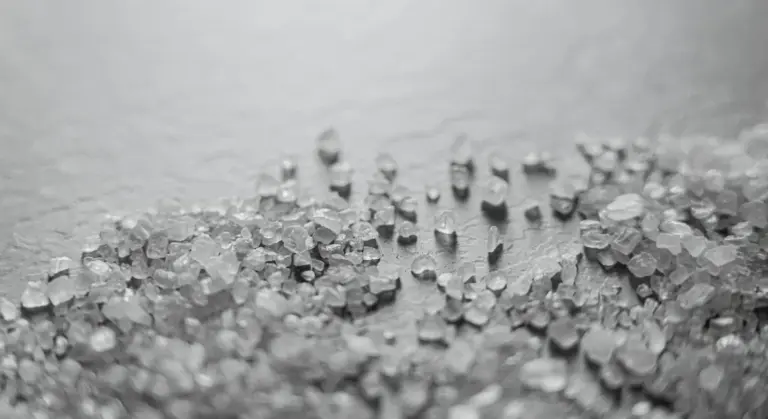
That odd taste or smell is a warning sign. Water sitting still in the small tube running to your fridge does not stay clean. It gets stale. Over time, minerals from your water settle and tiny microbes start to grow.
This growth forms a slimy layer called biofilm on the inside walls of the supply line. This biofilm is the direct cause of the earthy, metallic, or just plain “off” taste in your water and ice.
Let’s answer the big questions directly. Yes, your refrigerator water lines can absolutely get moldy and slimy. And yes, you absolutely need to clean them. If you’re tasting something funky, you are drinking from a system that needs maintenance.
A funky glass of water is a sign of a gunked-up system. The dispenser nozzle, the water tank inside the fridge, and the long supply line are all connected. Gunk in one area means contamination throughout.
Ignoring this does more than ruin your drink. The buildup can restrict water flow to a trickle. It can also send slime and scale particles into your ice maker unit, leading to clogs and mechanical failures. A simple cleanout protects your entire appliance.
The Science of the Slime: What’s Actually Growing in Your Lines
Biofilm is the main problem. In simple terms, it’s a sticky, glue-like layer made of bacteria and fungi. These microbes attach to the inner wall of your plastic water line and build a community.
Think of the slick film you feel inside a coffee mug that was left in the sink for a few days. Now imagine that coating the inside of a long, dark tube you drink from. That’s your refrigerator water line with an established biofilm.
This slime needs food to grow. Its primary food source is the Total Dissolved Solids (TDS) in your water. TDS is just a measure of the dissolved minerals, like calcium and magnesium. Water with higher TDS (common in homes with hard water) provides more “food” and can speed up biofilm growth.
The environment is perfect for it. The supply line is dark, warm from the kitchen, and the water inside is often stagnant for hours. This is the ideal recipe for microbial growth. Regular flushing and cleaning disrupts this environment, keeping your water tasting fresh.
Gather Your Gear: The Plumber’s Approved Cleaning Kit
You don’t need a truck full of tools for this job. Grab the simple stuff that actually works.
- Cleaning Agent: A jug of plain distilled white vinegar. A bottle of 3% food-grade hydrogen peroxide is a good backup.
- Scrubber: A small brush. A baby bottle brush is perfect for getting into the dispenser spout.
- Containment: A bucket and several old towels or rags. You will have spillage.
- For a Deep Flush (Optional): A few feet of food-grade plastic tubing and a small submersible pump. The kind used for home brewing or aquariums works great to circulate cleaner through the lines.
The EPA and NSF recognize simple acids like vinegar as effective sanitizers for food contact surfaces, which includes your water line. You are not dealing with industrial grease. Harsh chemicals are overkill and can be dangerous to rinse out completely.
Here is your first and most important step. Before you touch anything, unplug the refrigerator from the wall. This is non-negotiable for safety.
Vinegar vs. Bleach: What a Pro Would Use
Distilled white vinegar is your best tool. It’s a mild acid that dissolves mineral scale (that white chalky buildup) and kills most common bacteria and mold. It rinses away cleanly with water, leaving no toxic residue behind.
Bleach is a powerful oxidizer. It can damage the rubber seals and gaskets inside your dispenser and filter housing over time. The chlorine smell is also notoriously difficult to flush completely from plastic water lines, and you do not want to drink that.
Reserve bleach for one scenario only, a confirmed, severe mold infestation that vinegar cannot handle. For every other cleaning, from a funky taste to slow flow, vinegar is the smarter, safer choice. For 99% of refrigerator cleanings, a vinegar solution is safer for your appliance and just as effective as harsher chemicals.
The Step-by-Step Clean: From the Dispenser Spout to the Filter Housing
Follow these steps in order. Do not rush. The goal is to clean from the point of use back to the source.
Step 1: Power Down and Empty the System
With the fridge unplugged, locate your water shut-off valve. It’s usually a small saddle valve on the copper line behind the fridge or under the kitchen sink. Turn it clockwise to shut off the water supply. If you can’t spot it, trace the cold-water line from the fridge to find other shut-off valves. Knowing how to locate shut-off water lines around the house makes emergencies faster to handle.
Now, go to the dispenser on the fridge door and press the paddle. Keep a bucket handy. You will dispense water until the line is empty and pressure is relieved. When only air sputters out, you’re ready to remove air from the home water lines.
Step 2: Scrub the Dispenser Area and Drip Tray
Remove the drip tray and grill cover if your model has them. These often snap out. Soak them in warm, soapy water. Wipe down the entire dispenser recess with a cloth dipped in a 50/50 mix of vinegar and warm water.
This is where your small brush shines. Dip it in the vinegar solution and thoroughly scrub inside the dispenser chute and the small spout where the water comes out. Gunk builds up here from splashing water and dust, creating a perfect spot for mold to start. Rinse the area with a clean water cloth and dry it before moving on.
Step 3: Clean or Replace the Water Filter (This is Critical)
Old filters do not just stop filtering. They become a clogged sponge, trapping sediment and bacteria that can cause bad tastes and odors. This is the most common source of problems.
Check your filter’s manufacture date or your fridge’s filter indicator light. If it’s been over six months, replace it. Do not try to clean an expired disposable filter.
If the filter is relatively new (less than 3 months) and you want to sanitize it, you can flush it. Mix a strong vinegar solution (2 parts vinegar to 1 part warm water). Pour it slowly through the filter’s inlet side, letting it drain out the outlet into a bucket. Follow with a full gallon of clean water to rinse. While vinegar irrigation is a common cleaning method, make sure to use safety guidelines when handling any water filter.
When you buy a replacement, look for the box. A genuine NSF certification mark on the filter box is your assurance it meets public health standards for contaminant reduction. A cheap, uncertified filter might be little more than a charcoal-stuffed tube.
The Deep Flush: Cleaning the Hidden Supply Lines

You absolutely need to clean the water line in your refrigerator. Think of that plastic tube like a long, dark straw. Water sits in it. Over time, that stagnant water and the minerals in it (especially if you have hard water) create a perfect home for slimy biofilm, that gunky layer you can’t see. A surface wipe of the dispenser does nothing for this. To fix slow flow, odd tastes, or visible particles, you must clean the supply line itself.
How to Access and Disconnect the Supply Line
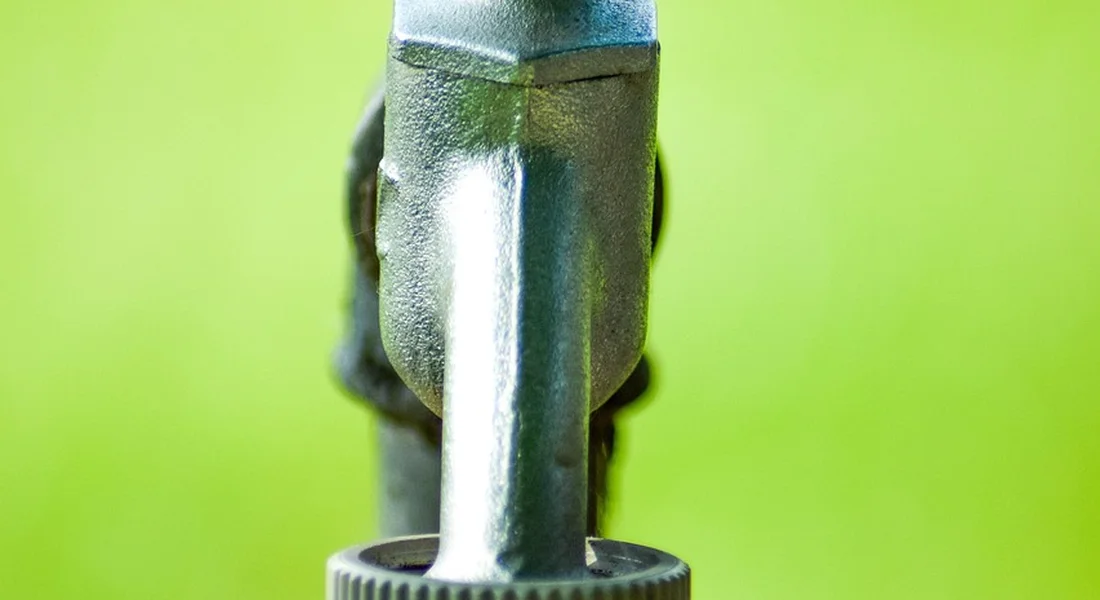
First, unplug your refrigerator. This is a non-negotiable safety step. Pull the fridge out carefully. You’re looking for a thin, typically 1/4-inch plastic or copper tube at the bottom back. It connects to a shut-off valve, usually on the wall or floor. This line is used to connect the fridge water line for ice and water dispensers.
Grab a small adjustable wrench, a towel, and a shallow bucket or pan. Place the towel and bucket under the connection point to catch drips. The connection is almost always a compression fitting. You’ll see a brass nut where the tube meets the valve. Use your wrench to hold the valve body steady. With your other hand, turn that brass nut counterclockwise to loosen it. Once loose, you can finish unscrewing it by hand. Expect a cup or two of water to drain out into your bucket.
Knowing it’s a standard compression fitting helps you avoid forcing it or looking for a special tool. If it’s stubborn, a little penetrating oil on the threads can help, but go slow.
The Two-Method Flush: Simple and Thorough
You have two choices here. Pick based on how bad the problem is.
Method A: The Simple Flush
This is for regular maintenance or if you just see a little sediment. Reconnect the water line to the valve, hand-tight plus a quarter-turn with the wrench (don’t crank it yet). Turn the water supply valve back on slowly. Go to your dispenser with a large bucket. Run water continuously for at least three to five gallons. This forceful rush of water can dislodge loose mineral flakes and debris, clearing minor clogs. It’s a good start, but it won’t dissolve established biofilm.
Method B: The Pro Circulation Clean (My Go-To)
This is the real answer to “can you clean the water line.” You need a small submersible pump (the kind for fountains or aquariums), a short piece of food-grade vinyl tubing, and white distilled vinegar.
- Disconnect the water line from the fridge’s valve, but leave the other end connected to the wall.
- Attach your food-grade tubing to the pump’s outlet.
- Place the pump in a bucket. Fill the bucket with a 50/50 mix of vinegar and water.
- Connect the other end of the food-grade tubing to the now-free end of your fridge’s water line. You might need a small adapter; a 1/4″ compression coupling works.
- Plug in the pump. Let it circulate the vinegar solution through the line for 20 to 30 minutes. The acid in the vinegar breaks down mineral scale and biofilm.
This method actively scrubs the inside of the line with a cleaning solution, which is the only way to truly sanitize it and restore full flow. I keep a cheap pump in my toolbox just for jobs like this. This approach is one practical option within the broader topic of cleaning water lines sediment and scale buildup. It ties into the wider methods used to address mineral scale and biofilm in piping.
Reconnecting and Testing Without Leaks
After flushing or circulating, it’s time to seal it up. If you used Method B, disconnect your pump and tubing first.
- Reconnect the fridge’s water line to the wall shut-off valve. Thread the compression nut on by hand until it’s snug.
- Use your wrench to give the nut just a quarter-turn more. Stop. Over-tightening is the number one reason for leaks after this job; you will crush the ferrule and create a worse problem.
- Slowly turn the water supply valve back on all the way. Immediately get down and check your connection with a flashlight. Look for any drips or seepage. A small bead of water might form but should not grow or drip. If it leaks, turn the water off and tighten the nut one more slight turn (no more than an 1/8th).
- Once it’s dry, plug the refrigerator back in. Dispense water into a bucket for a full minute to purge all the air and any residual vinegar from the system. Taste the water. It should run clear and taste clean.
Keeping It Clean: Habits to Prevent Future Gunky Buildup
Don’t let it get bad again. Set a reminder to do a full clean and flush every six months. I do mine when I change the clocks for daylight saving time. It takes 30 minutes and saves headaches.
If you don’t use the dispenser daily, run a glass of water through it once a week. Moving fresh water through the lines prevents stagnation, which is what allows biofilm to start growing in the first place.
Your home’s water quality is the root cause. Biofilm feeds on minerals. If you have hard water or high Total Dissolved Solids (TDS), you’re feeding the problem. A point-of-use filter under the sink for the fridge line can help. For a whole-house solution, a water softener or a carbon filter will drastically reduce the “food” supply to that slime. My own house has a softener, and I notice my fridge lines stay cleaner far longer.
This isn’t a sign your fridge is broken or your water is bad. It’s normal maintenance, like changing an air filter. You’ve got this.
Common Questions
Is it safe to drink the water after cleaning with vinegar?
Absolutely. After you flush the system with a gallon of clean water following the vinegar soak, any residual taste will clear. Vinegar is a food-safe acid that rinses away completely, unlike harsh chemicals that can linger in the lines.
How often should I really do a deep flush of the lines?
For most homes, a full clean every six months is perfect. If you have very hard water or have noticed particles or a persistent taste, consider doing it every three to four months. Your water quality directly determines the maintenance schedule, including the filter replacement frequency.
Should I clean the water lines every time I change the fridge filter?
It’s a smart practice. A new filter catches debris, but it doesn’t clean what’s already growing downstream in the lines. Doing both at the same time ensures your entire system-from the wall to your glass-is fresh and protected. Consider whether a whole-house filter or point-of-use option best fits your needs. Each setup changes the scope of protection—from the main lines to individual taps—so you can tailor maintenance accordingly.
I cleaned it, but the funny taste came back quickly. What now?
This usually means biofilm was left behind or your water has high mineral content (hard water). Perform the “Pro Circulation Clean” method with vinegar to scrub the entire line, and consider installing an inline filter or softener to address the root cause.
What’s the one maintenance tip for a fridge I don’t use often?
Stagnant water is the enemy. If the dispenser isn’t used weekly, manually run at least a half gallon of water through it to refresh the lines. For a vacation home, shut off the water supply and drain the line before you leave.
Keeping Your Refrigerator Water Clean and Safe
Make cleaning your refrigerator water system a regular part of your home maintenance, just like changing an air filter. Start with the simplest step first: replace the water filter on schedule to prevent most taste and flow issues before they begin. For those interested in a more hands-on approach, consider learning how to build and service a DIY water filtration system.
Bob is a an HVAC and plumbing industry veteran. He has professionally helped homeowners resolve issues around water softeners, heaters and all things related to water systems and plumbing around their homes. His trusted advice has helped countless of his clients save time, money and effort in home water systems maintenance and he now here to help you and give you first hand actionable advice. In his spare time, Bob also reviews home water systems such as tankless heaters, water softeners etc and helps home owners make the best choice for their dwelling. He lives around the Detroit area and occasionally consults on residential and commercial projects. Feel free to reach out to him via the contact us form.