Where to Put Your Sump Pump Check Valve and How to Install It Right
If your sump pump check valve is in the wrong spot, you’re asking for a flooded basement and a burned-out motor. Getting its location and installation correct is non-negotiable.
We will cover the one correct location for the valve, the tools you need for the job, a step-by-step installation guide, and the single biggest mistake I see homeowners make.
I’ve swapped more of these valves in wet basements than I can count. Here’s the takeaway: install it vertical and close to the pump, or you’ll be doing this job twice.
Why Your Sump Pump Needs a Check Valve
Think of a check valve as a one-way street for water. It lets water flow up and out of your sump pump’s discharge pipe. The instant the pump shuts off, the valve slams shut. This blocks all that water in the pipe from flowing backwards into the pit.
Without a check valve, that backflow forces your pump to re-lift the same water over and over, a problem called short cycling. Short cycling burns out the motor fast. I’ve replaced more pumps killed by missing or failed check valves than by actual old age.
There’s another physics problem it solves: water hammer. When a pump stops, the moving column of water in the pipe has momentum. It slams to a stop against a closed check valve, creating a loud bang or shudder in your pipes. A proper check valve absorbs that shock at the source, protecting your entire plumbing system from that jarring force.
Is a check valve necessary? Yes. Treat it as a required part of the system, not an optional accessory. Your pump’s lifespan depends on it. For submersible pumps, a check valve is often required. This prevents backflow and protects the pump.
The Right Spot: Check Valve Location and Orientation
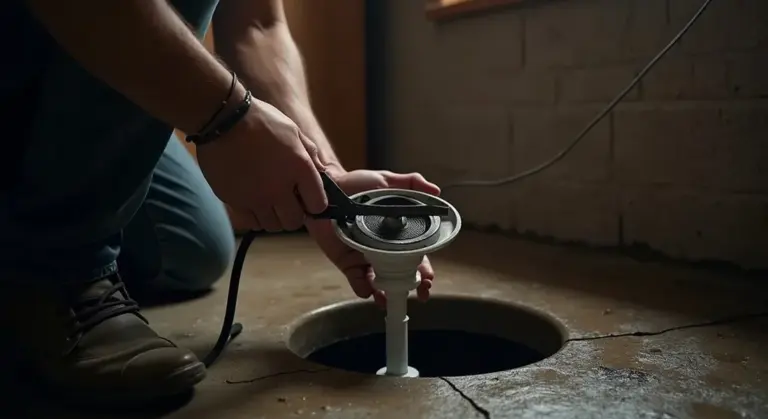
Where does the check valve go? Follow the golden rule: install it as close to the pump discharge as possible, on the vertical section of pipe.
The ideal setup is simple. Picture it: pump discharge port, a short vertical pipe (12 to 18 inches is good), the check valve, then the rest of the discharge pipe running to the outside. This keeps the water column above the pump short and manageable.
The Golden Rule of Placement
You must install the valve on the vertical pipe rising directly from the pump. Installing it higher up, or worse, on a horizontal run, creates a long column of standing water between the pump and the valve. This weight forces the pump to work harder to open the valve and greatly increases the risk of leaks at the pit adapter.
Vertical or Horizontal? Getting the Angle Right
Most common sump pump check valves are swing-style. These must be installed vertically so gravity can help the flapper door swing shut. Some spring-loaded valves can work horizontally, but vertical is always the safer bet. No matter the type, the arrow on the valve body must point up and away from the pump. This is the direction of allowed flow. Installing it backwards is a common and costly mistake. Want a closer look at the full process? Our sump pump check valve guide walks you through sizing, orientation, and maintenance.
Don’t Forget the Union Valve
Here’s a pro tip from my own basement: install a union valve. A union is a special fitting that lets you unscrew and remove a section of pipe without cutting it. Placing a union valve just above the check valve lets you remove the entire pump for service or replacement without dismantling your discharge plumbing. It costs a few extra dollars but saves hours of frustration later. Trust me, you’ll thank yourself.
Step-by-Step: Installing Your Sump Pump Check Valve
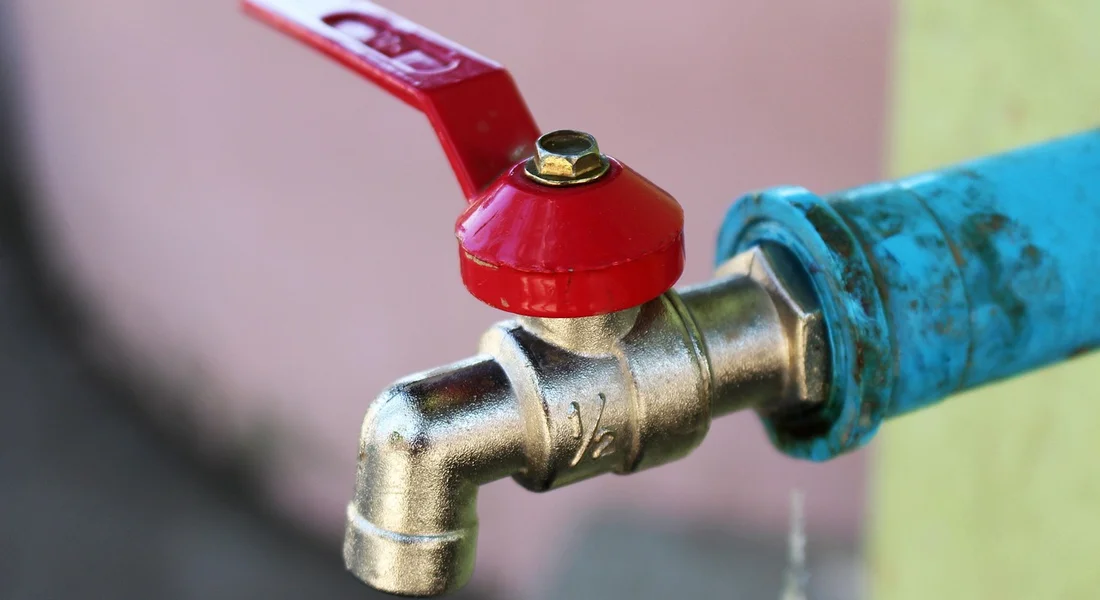
Putting in a check valve is a straightforward PVC job. The real trick is doing it right the first time so you don’t have a basement flood on your hands. Let’s get to work.
The DIY vs. Pro Verdict
Difficulty Rating: 4/10 for a new install on a basic PVC system. 7/10 if you’re cutting into an existing, tightly glued system.
You can handle this if you’re comfortable with a saw, a tape measure, and working near your sump pump. The skills are basic, but the stakes are high. A bad glue joint fails. If the forecast is clear for 48 hours and your pump isn’t currently running non-stop, it’s a good DIY project. If you’re sweating just reading that, call a pro.
Your Toolkit: What You’ll Need
- Sump pump check valve (1.5″ or 2″ PVC, matching your discharge pipe)
- PVC pipe cutter or hacksaw with miter box
- PVC primer (clear or purple) and PVC cement
- Tape measure and permanent marker
- Deburring tool or utility knife
- Two pipe couplers (slip couplings make life easier)
- Extra length of PVC pipe (for the new section)
- Safety glasses and chemical-resistant gloves
- Rag and bucket for water
Installation Walkthrough: Cutting, Fitting, and Gluing
Always start by unplugging the sump pump from the electrical outlet. You are cutting pipe that may have water in it, so make sure your sump pump is turned off and safe to handle.
- Power Down and Prep the Area. Unplug the pump. Place a bucket under the section of discharge pipe you’ll be cutting. Have your rag ready. Clear space to work.
- Measure and Cut the Discharge Pipe. You need to remove a section of pipe to fit the valve. Measure the valve body. Add about an inch to that length. Mark and cut straight through the vertical discharge pipe to remove that section. Cutting straight is critical for a good seal with the couplers. Deburt the inside and outside of the cut pipe ends.
- Dry Fit and Mark the Check Valve and Pipes. Assemble the new section: pipe coupler, a short pipe, the check valve (arrow pointing UP, away from the pump), another short pipe, and the second coupler. Hold it in place between the two cut ends. Make sure the arrow on the valve is unmistakably pointing up toward the discharge exit. Slide the couplers onto the existing pipes and mark alignment lines across all connections with your marker. Disassemble everything.
- Prime and Cement the Connections. Work on a stable surface. Wipe primer on the outside of the pipe ends and the inside of all fittings (couplers, valve). Apply a solid, even layer of cement to the same areas. Quickly push and twist the fitting onto the pipe a quarter turn, aligning your marks. Hold it firm for 15 seconds. PVC cement sets fast; you get one shot at alignment. Assemble the entire new section first, then glue the top coupler to the upper pipe, and finally the bottom coupler to the lower pipe.
- Let it Cure and Test the System. Do not touch the system for at least 2 hours (check cement label for full cure time). After it cures, plug the pump back in. Pour a 5-gallon bucket of water into the sump pit. The pump should kick on, move water up and out, and shut off without a loud thump. You should hear the valve close with a soft click or tap.
When NOT to Try This Yourself
- Your discharge piping is old cast iron, clay, or complex metal.
- The existing PVC plumbing is a tangled web of glued fittings with no straight section to cut.
- You are not comfortable safely working around electrical outlets and wiring.
- Heavy rain is forecast within the next day, creating a high flood risk if you make an error.
- The pump is currently running constantly to manage water; you cannot take it offline.
In these cases, the cost of a licensed plumber is cheap insurance for your basement.
Choosing and Maintaining Your Check Valve
A good valve lasts for years. Picking the right type and checking it once a year prevents most major problems.
Types of Check Valves: Flapper, Spring, and Silent
| Type | How It Works | Best For | Watch Out For |
| Flapper Valve | A simple hinged door that water pushes open. Gravity closes it. | Basic, budget-friendly setups. Very common. | Can cause a loud “thump” or “bang” when it slams shut. The flapper can get stuck open or worn out. |
| Spring Valve | Uses a spring to assist in closing the seal. | Quieter operation than flappers. Faster closing reduces water hammer. | The spring can eventually fatigue. Slightly more expensive. |
| Silent Valve | Uses a soft diaphragm or special mechanism to close gently. | Finished basements or bedrooms near the pump. The quietest option. | Highest cost. The internal diaphragm can fail over time. |
Many modern spring and silent check valves have a built-in air relief hole or feature. This small hole lets trapped air escape, preventing an air lock that can stall your pump. It’s usually a tiny drilled hole on the valve body or in the seal itself. If your valve has one, never plug it.
The Red Flag Troubleshooting Guide
- Pump runs constantly in short cycles: The valve is stuck open or broken, letting water flow back into the pit. Immediate Action: Replace the valve.
- Loud banging or thumping on shut-off: Water hammer from a fast-closing valve (common with flappers). Immediate Action: Install a spring-assisted or silent check valve.
- Water leaking from valve joints: Failed PVC cement seal. Immediate Action: Unplug pump, drain pipe, cut out valve, and re-glue a new section.
- No water discharges from the pipe outside: Valve is stuck closed or severely clogged. Immediate Action: Unplug pump, disconnect valve, and inspect/clean or replace.
- Visible cracks or damage on valve body: Physical failure. Immediate Action: Replace the valve immediately before it bursts.
Keeping it Working: Your Maintenance Roadmap
Do this simple check every fall before the wet season.
- Listen: With the pump running, do you hear a steady flow? After it shuts off, does it close with a firm tap, not a bang?
- Look: Shine a light on the valve. Any signs of leakage, cracks, or mineral buildup?
- Feel: Place your hand on the discharge pipe below the valve after the pump stops. You shouldn’t feel vibrations from water flowing backward.
To change a valve during maintenance, you follow the same installation steps. The old valve is just another section of pipe to cut out. Having slip couplings on hand makes this job much simpler, as they can slide over existing pipe without needing extra length to slide them on.
The Pro’s Playbook: Safety, Codes, and When to Call
You have the valve. You know where it goes. Now you need the rules of the road. This part is about making sure your fix is safe, legal, and actually works when the rain comes.
Installing a check valve involves working on a pressurized discharge line, and a mistake here can lead to serious water damage or injury. Always shut off and unplug the sump pump before you touch any plumbing. That discharge pipe will hold water, and it will spill when you loosen a fitting. It’s crucial to properly disconnect the sump pump before starting any maintenance.
Beyond basic safety, you need a quick code and compliance check. Your local plumbing code, which is usually based on the International Plumbing Code (IPC) or Uniform Plumbing Code (UPC), has specific rules for sump pump discharge. These codes dictate things like how the pipe must be supported to prevent stress on the pump, and they require an air gap where the water exits your home to prevent any chance of sewage backflow into your basement. Following code isn’t just about avoiding a fine, it’s about ensuring your system is reliable and insurable.
Here is the bottom line. If your project involves running new discharge pipe outside, tying into existing underground drains, or you discover major corrosion at the pit connection, that’s your signal to call a licensed plumber. The liability for a flooded neighbor’s yard or a failed inspection is not worth the DIY pride.
A properly installed check valve is a quiet guardian. It’s not flashy. You’ll forget it’s there until the next big storm, when it silently does its job of keeping that pumped-out water from rushing back into your pit. That’s the goal, a dry basement you don’t have to worry about.
What the Plumbing Code Says
Think of plumbing code as the official instruction manual for your house. It matters for two big reasons, insurance and operation. If your sump pump installation causes damage and it’s found to be not up to code, your home insurance company may deny the claim. Code also exists to make sure things work right and don’t create health hazards, which can be a concern especially in cases of failed sump pumps.
The IPC and UPC have clear rules for sump pump discharge. The pipe must be securely supported within a few feet of the pump and at regular intervals. This prevents the weight of the water-filled pipe from cracking the pump’s discharge outlet. The pit itself must have a sealed, vented cover to keep out debris, pests, and radon gas. Perhaps most importantly, the discharge must have an air gap, meaning the water free-falls into a drain or away from the foundation, with no direct pipe connection that could allow back-siphonage. These discharge standards reflect best practices for sump pump pit installation. Following them helps ensure a reliable, code-compliant setup.
Your local municipality enforces a specific code edition. A quick call to your local building department can clarify requirements. When in doubt, assume the code requires a secure, sloped pipe that drains away from your foundation and has that critical air gap at the termination point.
Final Reality Check: Is This a DIY Job?
Let’s recap the skills you need. This is an intermediate plumbing job. You must be comfortable cutting PVC or ABS pipe cleanly, using primer and cement correctly, and making watertight threaded connections if your setup uses a metal nipple. You need basic tools like a hacksaw, pipe wrench, and a level.
The clear signal to call a pro is when you open things up and the scope changes. If the existing piping is complex, corroded, or leaks at the pump itself, stop. If the discharge line needs to be rerouted through a finished wall or under a sidewalk, stop. If you are unsure about creating the proper air gap or slope, stop. Picking up the phone for a licensed plumber is the right move when the project grows beyond a simple valve swap on an accessible, well-supported pipe.
A professional will get it done quickly, guarantee the work, and handle any unexpected problems. Your time and peace of mind have value. Knowing your limits is a mark of a savvy homeowner, not a failed DIYer.
Quick Answers
1. Can I install the check valve horizontally if my pipe runs sideways right away?
While some spring-loaded valves are rated for horizontal use, I always recommend a vertical install. Gravity ensures reliable closure for the most common flapper-style valves, and it follows the golden rule for minimizing water column weight on your pump. Stick with vertical whenever possible.
2. My valve makes a loud “thump” when the pump shuts off. Is that normal?
A loud bang isn’t normal-it’s classic water hammer. This usually means you have a basic flapper valve that slams shut too hard. For a quieter system, replace it with a spring-assisted or silent check valve, which are designed to close gently and absorb that shock.
3. How do I choose between a flapper, spring, or silent check valve?
It’s a balance of budget and noise tolerance. A standard flapper gets the job done cheaply but can be loud. Spend a little more on a spring valve for quieter, more reliable operation. Invest in a silent valve if your pump is near living spaces and noise is a major concern.
4. Is the union fitting really worth the extra cost and effort?
Absolutely. A union fitting installed just above the check valve is the best $10 you’ll spend on this project. It allows you to remove the pump for service or replacement in minutes without cutting any pipes, saving you hours of work during a stressful, wet emergency.
5. What’s the first thing I should check if my pump is running constantly?
First, listen and look at the check valve. If you hear water rushing back into the pit after the pump cycles off, the valve is stuck open or has failed. This causes short cycling and will burn out the motor. Replacing the valve is your most likely fix.
Getting Your Check Valve Installation Right
Place the valve as close to the pump discharge as possible, on the vertical pipe rising from the pit. After you install it, run the pump through a cycle and check for leaks or strange noises to confirm everything is sealed and working properly.