Submersible Well Pump Depth, Flow, and Pressure: A Homeowner’s Guide
Worried your well pump is set too high or can’t keep up with demand? Get the depth wrong and you’ll burn up a pump or end up with no water.
This guide will show you how to get it right the first time. We will cover figuring out the right depth for your well, picking the correct pump, understanding what flow rate you really need, and how to set the pressure in your tank.
I’ve been a water systems technician for 15 years and have pulled and set more pumps than I can count. I also replaced the submersible in my own house last fall. Here’s the deal: getting the depth right is everything.
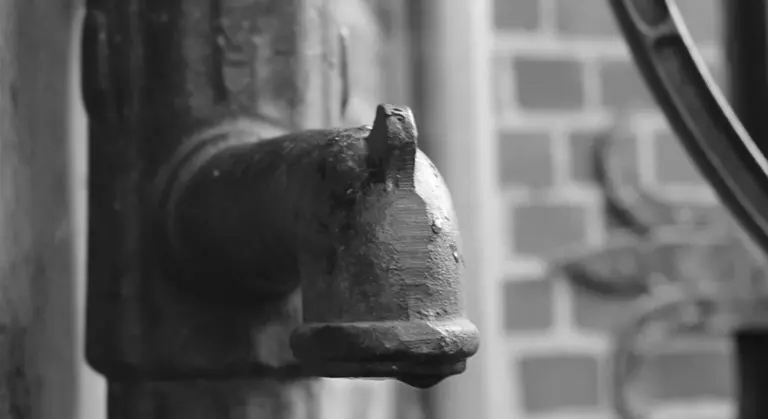
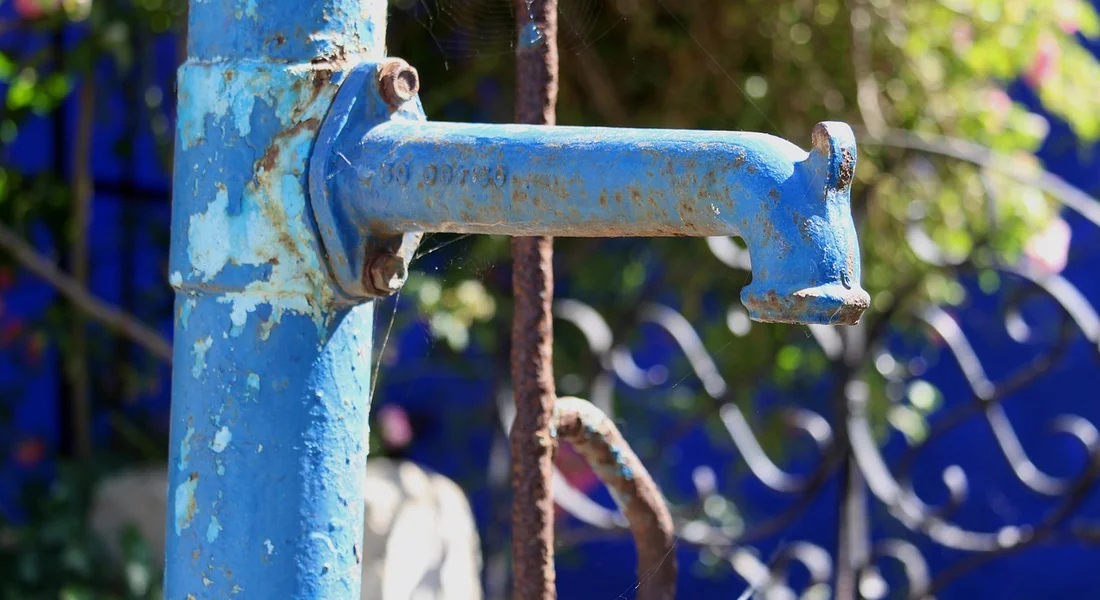
What Does a Submersible Pump Do and Why Depth Matters
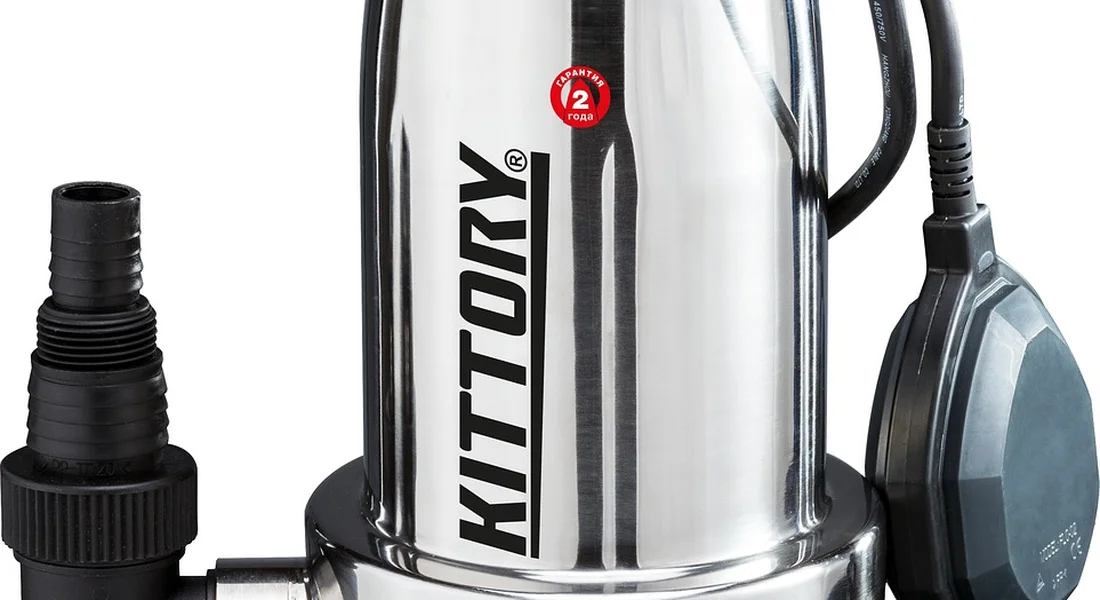
A submersible well pump is a long, cylindrical unit you lower into your well casing. It sits right in the water. When it turns on, an electric motor spins impellers that push water directly up the pipe to your house. Inside, multiple stages work together to develop pressure and control flow. The stages determine how much pressure and how much water volume the pump can deliver, which helps you choose the right model for your well.
Think of it like a powerful sump pump, but instead of pushing water a few feet sideways, it’s pushing it hundreds of feet straight up.
Your main goal is simple. You must set the pump deep enough so it always has water to push, but not so deep you cause unnecessary wear or hit the bottom of the well. Getting this depth wrong is a common, expensive mistake, especially when installing a deep well submersible pump.
This advice is for standard residential water wells. If you’re asking “how deep are geothermal heat pump wells,” that’s a different game. Those closed-loop systems go much deeper, often 150 to 400 feet, just to exchange heat with the ground, not to pump water for your home.
How to Find the Right Installation Depth for Your Pump
There is no single magic number like “set it at 150 feet.” Your pump depth is based on your well’s three unique measurements.
You need these three numbers:
- Total Well Depth: How deep the hole was drilled, from ground level to the very bottom.
- Static Water Level: How far down the water sits when no one is pumping. This is your starting point.
- Well Recovery Rate: How fast the well refills with water after you pump some out (measured in gallons per minute).
You find this info on your original well log or drilling report. If you don’t have it, a well contractor can measure it for you. Do not guess on these numbers. A professional measurement is worth the service call to avoid burning up a pump.
The Simple Rule for Setting Pump Depth
The core calculation is straightforward. Set the pump below the static water level, then add a safety margin.
Here’s the rule: Install the pump at least 10 to 20 feet below the static water level. For better safety and to handle high usage, many pros set it even deeper, up to 50 feet below that level.
Let’s use clear numbers. If your static water level is 50 feet, you would set your pump between 70 and 100 feet deep.
The critical, non-negotiable rule is this: the pump intake must always be submerged, even when you’re running showers, dishwashers, and sprinklers all at once. If the pump sucks air, it will overheat and fail quickly.
How Horsepower (HP) Affects How Deep Your Pump Can Go
Horsepower is like the size of a truck’s engine. A bigger engine can haul a heavier load up a steeper hill. For a pump, more horsepower means it can push water from a greater depth.
People often ask “how deep can a 1/2 hp submersible well pump go?” or “how deep can a 1.5 hp well pump go?” Here is a simple guide. These are general maximums for standard residential pumps pushing to typical household pressure (40-60 PSI).
A pump like a Goulds 1/2 HP model is chosen based on this depth chart and the flow rate you need for your home. Always check the pump’s performance chart from the manufacturer. Depth is only half the equation; you also need enough flow (GPM) for your house.
Choosing a Pump: Matching Flow Rate (GPM) and Pressure (PSI) to Your Home
You know how deep to put the pump. Now, will it give you enough water? A pump that’s too weak means lousy shower pressure. One that’s too strong for your well can suck it dry. You need to match the pump’s capability to your home’s actual demand.
Understanding Gallons Per Minute (GPM) for Home Use
GPM is how many gallons the pump can move each minute. Think of your fixtures. A standard showerhead uses about 2.5 GPM. A washing machine might use 3 GPM. You need a pump that can supply water to everything that might run at once.
To find your home’s potential demand, add up the GPM of key fixtures. Don’t count every single faucet. Focus on the busiest bathroom group and major appliances.
- Shower: 2.5 GPM
- Kitchen Sink: 2.0 GPM
- Washing Machine: 3.0 GPM
- Toilet (filling): 3.0 GPM
If someone showers while the washing machine runs, you need at least 5.5 GPM at that moment. For most homes with 2-3 bathrooms, a submersible pump delivering 10-15 GPM is a safe, common range that provides solid capacity. Your well’s actual yield, measured in a well test, is the ultimate limit. To verify this in practice, measure your well pump flow rate during peak demand. A quick flow test reveals the actual GPM and helps ensure the system stays within the well’s recharge rate. Your pump’s GPM should never exceed what the well can recharge.
Understanding Pressure (PSI) and How It Gets to Your Faucet
The pump creates water movement. Your pressure tank and switch create the steady pressure you feel at the tap. The pump fills the tank, compressing air inside it. This stored pressure is what sends water through your pipes.
The pressure switch on the tank tells the pump when to turn on and off. A 40/60 switch is standard. This means the pump kicks on when pressure drops to 40 PSI and shuts off when it reaches 60 PSI. Some systems use a 30/50 switch for softer pressure. You can adjust the well pump pressure switch settings to suit your system.
The pump must work against gravity to lift water from the well depth to the tank, which eats into its pressure-producing power. This lift is called “total dynamic head.” A pump’s specs will list a “max head” in feet. For every 2.31 feet of lift, you lose about 1 PSI of potential pressure at the tank. A pump 200 feet down is already fighting about 87 PSI of lift before it even starts to build pressure in your house lines. You must choose a pump with a max head rating greater than your well depth plus the desired house pressure, ensuring it meets the pressure requirements for a submersible pump.
Recommended Products: Pump Categories for Different Jobs
Shop for the job, not just a brand. Here are the main categories you’ll encounter.
Pumps for Shallow Wells and Low-Yield Sources
Use this if your well is less than 100 feet deep or doesn’t recharge water quickly. These pumps are designed to lift water efficiently without overtaxing a limited water supply.
- Look for: 1/2 HP to 3/4 HP motors.
- Typical Flow: 5-10 GPM.
- Key Spec: A lower max head (around 150-200 ft) is fine and often more energy-efficient for shallow settings.
High-Flow Pumps for Large Homes or Irrigation
This is for a big house with multiple bathrooms or if you’re running sprinklers from the well. You need high GPM without sacrificing pressure.
- Look for: 1 HP to 1.5 HP motors.
- Typical Flow: 15-25+ GPM.
- Key Spec: A high max head (250 ft+) is common. Ensure your well’s casing diameter is big enough to fit the larger pump body.
Energy-Efficient and Simple 2-Wire Pumps
A great standard choice for most average-depth residential wells. The “2-wire” means the starter controls are built into the pump, so you only run two wires down the well. It’s simpler to wire than a 3-wire pump with a separate above-ground control box. Understanding wiring types and voltages for well pumps helps you plan the installation and select the right model. This context is especially relevant when comparing 2-wire and 3-wire configurations.
- Look for: 3/4 HP to 1 HP 2-wire models.
- Typical Flow: 10-18 GPM.
- Key Spec: Match the max head to your well depth. These offer a good balance of reliability and operating cost for a typical 150-250 foot well.
Fixing Common Pump Problems: Low Pressure and Low Flow
When your water pressure drops or the flow becomes a trickle, start with the simple stuff. You can waste a lot of time and money chasing a complex pump issue when the real problem is right in your basement.
Start Here: The Simple Checks
Grab a tire pressure gauge. Head to your pressure tank. Find the air valve on top. With the pump off and all water pressure drained from the system, check the air pressure in the tank. It must be 2 PSI below your pressure switch’s cut-on setting. If your switch turns the pump on at 40 PSI, your tank’s air charge should be 38 PSI.
A waterlogged tank with a failed bladder is the number one cause of rapid pump cycling and weak, pulsing pressure. If the air pressure is zero or water comes out of the air valve, your tank is dead. You need a new one.
For Low Pressure: Check These Three Things
Low pressure feels like a weak shower. The pump might run, but the force isn’t there.
- Pressure Tank Bladder: You already checked this. If it’s good, move on.
- Pressure Switch Settings: Locate the gray or black box on the pipe near the tank. It has two nuts on big springs. The larger nut adjusts the cut-on and cut-off range. Turning it clockwise increases pressure. Do not crank it up wildly; typical home settings are 40/60 or 30/50 PSI. A quarter-turn is a big adjustment. Listen for the switch to click.
- Clogged Pipe or Screen: Find where the water line enters the house from the well. There is often a sediment filter or a simple screen filter (looks like a bullet-shaped brass fitting). Shut off the water, relieve pressure, and unscrew it. Clean any screens. Check for scale or sediment buildup in the first foot of pipe.
For Low Flow: When the Water Just Dribbles
Low flow means not enough volume. One faucet might be okay, but running two stops the water.
- Stuck Check Valve: The check valve stops water from falling back down the well pipe. If it’s stuck partially closed, it chokes the flow. This valve is usually in the wellhead or just below the pitless adapter. This is a pro fix.
- Pumping the Well Dry: This is common. Your pump’s capacity exceeds your well’s recovery rate. Time how long the pump runs to fill the pressure tank. Then time how long it takes for the well to recover before the pump kicks on again. If the recovery time is longer than the run time, you’re outrunning your water source. The solution is to install a low-flow control or a cycle stop valve to match the pump’s output to the well’s yield, which is specialist work.
The DIY vs. Pro Verdict: What You Can and Cannot Do
Difficulty Rating: 9/10. This is major, hazardous work involving heavy equipment, deep pits, high voltage, and potable water safety. One mistake can contaminate your well or cause severe injury.
The DIY Zone (Your Safe Territory)
You can handle everything from the wellhead inward. This is your domain.
- Testing and adjusting system air pressure and pressure switch settings.
- Replacing the entire pressure tank or pressure switch above ground.
- Basic troubleshooting: checking for power at the control box, listening for pump activity, checking for tripped breakers.
- Cleaning or replacing inline household filters and sediment screens.
At my house, I just replaced a failed 40/60 pressure switch in ten minutes. That’s a standard DIY job.
The PRO Zone (Call a Licensed Well Specialist)
Anything involving the well casing, the drop pipe, or the pump itself requires a professional. Period.
- Pulling the submersible pump from the well. This requires a pull rig, pipe wrenches, and a way to handle hundreds of feet of wet, heavy pipe.
- Diagnosing pump depth, selecting a new pump, and determining the correct horsepower and flow rate.
- Installing or servicing the pitless adapter (the fitting that brings water out of the casing below frost line).
- Replacing the well seal or checking the check valve inside the casing.
Well work is governed by strict local health and building codes to protect groundwater from contamination. A licensed pro will ensure the work is legal and safe. They have the liability insurance if something goes wrong. You don’t. This isn’t like swapping a water heater. The risks and consequences are far greater.
Common Questions
Why can’t I just set the pump at the very bottom of my well?
You never want the pump sitting on the well bottom. Sediment and sand settle there, and the pump will suck them up, destroying the impellers. Always install it at least 10-20 feet above the well’s total depth to keep it in clean water and allow for future sediment accumulation.
What’s the difference between fixing low water pressure and fixing low water flow?
Low pressure is weak force at one faucet. Start by checking your pressure tank’s air charge and switch settings. Low flow means not enough volume for multiple fixtures at once, which often points to a well yield issue or a stuck check valve-this usually requires a pro to diagnose.
What are the warning signs that my pump might be running dry?
Listen for the pump cycling on and off very rapidly (short-cycling), or running continuously without building pressure. You might also hear unusual grinding or vibrating sounds. If you suspect it’s sucking air, turn the system off immediately and call a technician to prevent a burn-out.
How often should I expect to replace a submersible well pump?
With proper installation and no dry-running events, a quality pump can last 15 to 25 years. Its lifespan directly depends on your well’s conditions and how often the pump cycles. A waterlogged pressure tank that causes rapid cycling is the fastest way to shorten a pump’s life.
Is there a quick way to estimate what size pump (HP and GPM) my home needs?
For a rough estimate, a typical 3-bedroom home often does well with a 1 HP pump delivering 10-15 GPM. Knowing the typical well pump GPM rates for residential systems helps you gauge if that range fits your demand. However, this is just a starting point. Always cross-reference this with your well’s actual depth and recovery rate, as detailed in the guide above, to make the final choice.
Setting Up Your Well Pump for Reliable Water
Always install your submersible pump deep enough-typically 10 to 20 feet below the water level-to avoid dry runs and extend its life. Select a pump model with a flow rate and pressure rating that meets your home’s highest simultaneous water use, ensuring steady pressure and volume. Understanding how pump size and flow features interact helps tailor the system to your usage. It also guides selecting a model with the right size and flow characteristics for reliable performance.
Bob is a an HVAC and plumbing industry veteran. He has professionally helped homeowners resolve issues around water softeners, heaters and all things related to water systems and plumbing around their homes. His trusted advice has helped countless of his clients save time, money and effort in home water systems maintenance and he now here to help you and give you first hand actionable advice. In his spare time, Bob also reviews home water systems such as tankless heaters, water softeners etc and helps home owners make the best choice for their dwelling. He lives around the Detroit area and occasionally consults on residential and commercial projects. Feel free to reach out to him via the contact us form.