Submersible Pump PSI, Power, and Water Requirements: Get It Right
Your submersible pump needs the right pressure, power, and flow to work. Screw this up and you get weak water or a dead pump.
We will cover PSI for system pressure, electrical specs for safe power, and water requirements for proper flow.
I’ve pulled and installed more pumps than I can count. Here’s the key: your well depth dictates everything.
First, Let’s Talk About What You’re Actually Pumping
I got a call from a neighbor last year. His shower had turned into a sad drizzle. He’d already replaced the showerhead, thinking it was clogged. No change. When I checked his pressure at an outdoor spigot, it was barely 20 PSI. That weak flow wasn’t a fixture problem. It was a pump problem. The pump in his well was still running, but it couldn’t build enough pressure to supply the house properly.
A submersible pump has one job: to push water vertically from deep underground up into your pressure tank and plumbing system. Think of it as the heart of your well system. It sits down in the water, and when your pressure switch calls for it, it pushes water up the pipe against gravity.
To do that job correctly, you need to match the pump to three specific requirements: PSI (its pushing strength), power (the electricity to run it), and water (how much the well can provide). Getting these wrong is why showers fail.
Water Science Snippet: Your well’s ability to supply water is just as critical as the pump. You need to know three things:
- Static Water Level: The distance from the ground down to the normal water level in your well when the pump is off.
- Drawdown: How far the water level drops when the pump is running. A pump that’s too powerful can suck the well dry faster than it refills.
- Recovery Rate: How many gallons per hour the well naturally refills itself. Your pump’s output should not exceed this rate for long runs.
It’s like drinking from a glass with a straw. The static level is how full the glass is. Drawdown is how much the liquid level drops as you drink. The recovery rate is how fast someone is refilling your glass. If you drink faster than they can pour, you’ll get air.
PSI Requirements: Your Home’s Water Pressure Blueprint
PSI stands for Pounds per Square Inch. It’s the unit we use to measure water pressure, or the pump’s pushing strength. In your home, you want this pressure to be steady and within a specific range.
Most homes operate best between 40 and 60 PSI. This range provides strong flow for showers and appliances without straining pipes and fixtures. Pressure that’s too low means weak flow. Pressure that’s too high can damage water heaters, cause leaks, and waste water.
You control this range with the pressure switch on your tank. Common settings are 40/60 or 50/70. The first number (40 or 50) is the “cut-on” pressure. When your system drops to this PSI, the switch turns the pump on. The second number (60 or 70) is the “shut-off” pressure. When the pump builds pressure to this point, the switch turns it off.
The pump you choose must be capable of reaching your chosen shut-off pressure, plus the pressure needed to lift the water from the well.
Here’s a simple guide to the shut-off pressure you’ll typically need based on your home:
The biggest factor in your required pump PSI is well depth. For every vertical foot the pump must lift water, it needs to overcome about 0.43 PSI of gravity. This is called “vertical lift.” A pump 200 feet down must create about 86 PSI (200 x 0.43) just to get the water to ground level, before it even starts building pressure for your house.
So, what is the PSI requirement for the pump? It’s the sum of the vertical lift pressure plus your desired house pressure. If you have a 200-foot well and want a 50/70 pressure switch, your pump must be capable of producing at least 70 PSI at the house PLUS the 86 PSI to lift it. That’s a total of 156 PSI of “Total Dynamic Head” the pump must be rated for. You always buy a pump based on this total requirement, not just your house pressure.
Power Requirements: Volts, Amps, and Horsepower Demystified
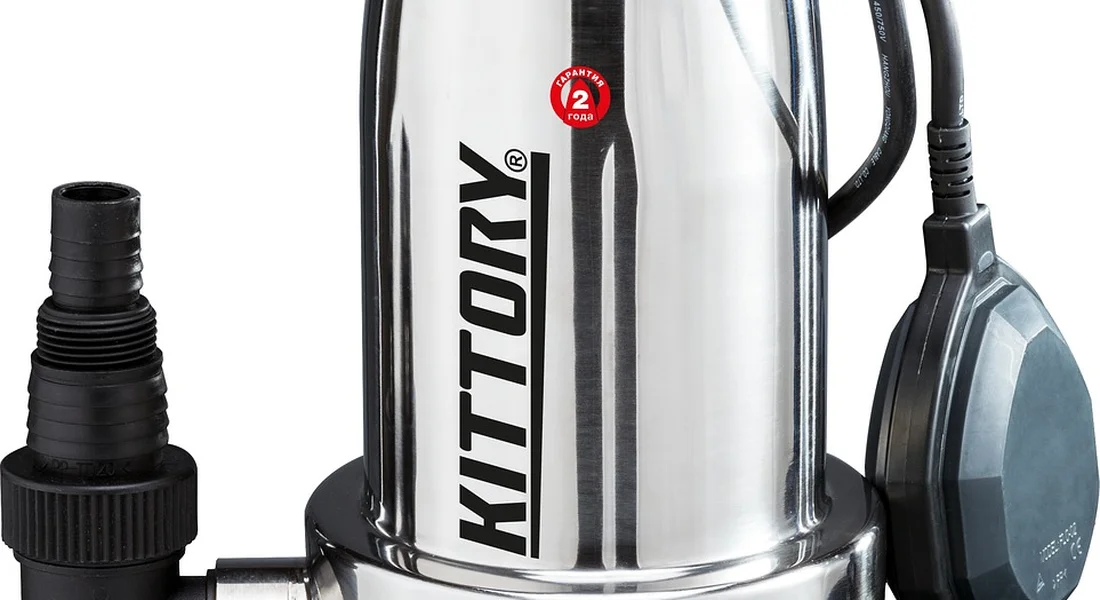
Your submersible pump needs electricity, but not just any kind. Think of voltage like the width of a pipe. More voltage means more electrical “push” can get through. If it won’t start, the power supply is the first thing to check. In the next steps, you’ll find troubleshooting tips for a submersible pump not working.
120V or 240V: Which Pipe is Right?
Your home has two main electrical services. Most outlets and lights use 120 volts. Your dryer, stove, and well pump likely need 240 volts.
A 240V circuit is standard for submersible pumps because it cuts the amperage in half, which allows for smaller, less expensive wiring and creates less heat over the long distance to your well. A 1 HP pump on 120V might draw 16 amps, but that same pump on 240V only draws 8. The work gets done with less strain on the system. Understanding well pump voltage requirements helps ensure safe operation and proper electrical sizing. This knowledge also guides breaker and wire sizing to meet code.
Horsepower: The Pump’s Muscle
Horsepower (HP) is the measure of a pump’s raw power. It tells you how hard the motor can work to push water up from the depth of your well and build pressure in your tank.
A higher horsepower pump can generally push more water (higher GPM) and achieve higher pressure (PSI). It’s like the difference between a 4-cylinder and an 8-cylinder engine. More power on tap.
Amps: How Much Electrical “Flow” Your Pump Uses
Amperage (amps) is the actual flow of electricity the pump consumes. It’s crucial for sizing wires, circuit breakers, and backup power. When reviewing electrical specs for a well pump, amperage helps determine the appropriate wire gauge and breaker size. This ensures safe starting surges and reliable performance.
Every motor has two key amperage ratings: running amps (how much it uses while operating) and starting amps (the brief, higher surge to get the motor spinning). Your electrical system and backup power must handle the starting amps.
| Pump Horsepower (HP) | Running Amps (Approx.) | Starting / Locked Rotor Amps (Approx.) |
|---|---|---|
| 1 HP | 5 – 7 Amps | 20 – 30 Amps |
| 1.5 HP | 7 – 10 Amps | 30 – 45 Amps |
| 2 HP | 10 – 13 Amps | 40 – 60 Amps |
| 3 HP | 13 – 18 Amps | 60 – 90 Amps |
Backup Power: Sizing a Generator or Battery
When the grid goes down, your well pump stops. To run it on backup power, you need to cover the wattage. Watts = Volts x Amps.
For a 1 HP, 240V pump drawing 7 running amps, that’s about 1,680 running watts. The critical number is the starting wattage, which can be 3 to 5 times higher, so you need a generator or inverter capable of at least 5,000 to 7,000 watts to handle the surge.
A battery system (like a large power station or home battery backup) must have a high-surge inverter rated for the pump’s starting watts. A typical “solar generator” won’t cut it unless it’s specifically designed for well pumps.
FAQ: What is the power requirement for the pump?
The power requirement is a combination of voltage (almost always 240V for home systems), horsepower (sized for your well depth and home demand), and the corresponding amperage. You match this to the correct wire gauge, circuit breaker, and control box.
DIY vs. Pro Verdict: Difficulty Rating 9/10
Wiring a submersible pump is not a DIY project. Pulling the pump, wiring the control box or splice kit, and setting the pressure switch involve high voltage, waterproof connections, and critical safety mechanisms. Well pumps use different wiring types and voltages depending on the model and power supply. We’ll cover those wiring types and voltages in the next sections as part of the overall system overview. One wrong connection can destroy the pump, cause a short, or create a shock hazard. This work requires a licensed electrician or well systems professional. My job is to help you understand the system, not to wire it.
Water Requirements: GPM Flow and Your Family’s Thirst
Power gets the pump moving, but water flow is its purpose. This is measured in Gallons Per Minute (GPM).
GPM: The Pump’s Delivery Speed
GPM tells you how much water the pump can deliver to your home at a given pressure. If your showerhead uses 2.5 GPM and your pump can only deliver 5 GPM, you’ll notice a problem if two showers run at the same time.
You’ll see pumps advertised for everything from 10 GPM (home use) to 350 GPM (large irrigation or industrial). For a typical home, you need a pump that can deliver 5 to 20 GPM depending on the size of your household and your well’s capacity, especially when you’re sizing a well pump for deep wells.
Estimating Your Home’s Peak Water Demand
You can get a rough idea of your needed GPM with a fixture unit count. Here’s a simple method:
- List all the water fixtures that could run simultaneously (e.g., two showers, a toilet flush, and the kitchen faucet).
- Add their approximate flow rates:
- Shower: 2.5 GPM (standard head)
- Toilet: 3 GPM (during flush/fill)
- Kitchen Faucet: 2.2 GPM
- Washing Machine: 3-5 GPM
- Total the GPM for your worst-case scenario. For our example: (2.5 + 2.5 + 3 + 2.2) = ~10 GPM.
Your pump’s output should meet or exceed this peak demand number.
The Critical Link: Pump GPM vs. Well Yield
This is the most important match. Your well has a “recovery rate” or sustainable yield, measured in GPM. The pump’s output GPM must never exceed what the well can sustainably give. If you put a 20 GPM pump on a well that only yields 5 GPM, you will pump the well dry, damage the pump, and have no water. A well professional performs a test to determine this yield before sizing your pump.
Red Flag Troubleshooting Guide
These symptoms often point to a water flow mismatch or pump problem:
- Air sputtering from taps: The pump is drawing in air because the water level in the well is too low. The pump is too strong for the well.
- Pressure tank waterlogging: The tank feels completely solid, full of water. The pump is cycling on and off every few seconds. This could be a failed tank bladder, but it can also happen if the pump’s output is too low to meet demand, causing rapid cycling.
- Rapid pump cycling: The pump kicks on and off constantly, even with minimal water use. This often signals a mismatch between the pump’s flow rate, the pressure switch settings, and the tank’s pre-charge pressure.
When I see rapid cycling at a service call, the first things I check are the pressure tank’s air charge and the pressure switch, not the pump itself.
FAQ: What is the water requirement for the pump?
The water requirement is the Gallons Per Minute (GPM) flow rate your household needs at peak use. This number must be balanced with two things: the pump’s rated output GPM and, more critically, your well’s proven sustainable yield GPM. The well’s capacity is the limiting factor.
Sizing It Right: Matching the Pump to Your Well and Home
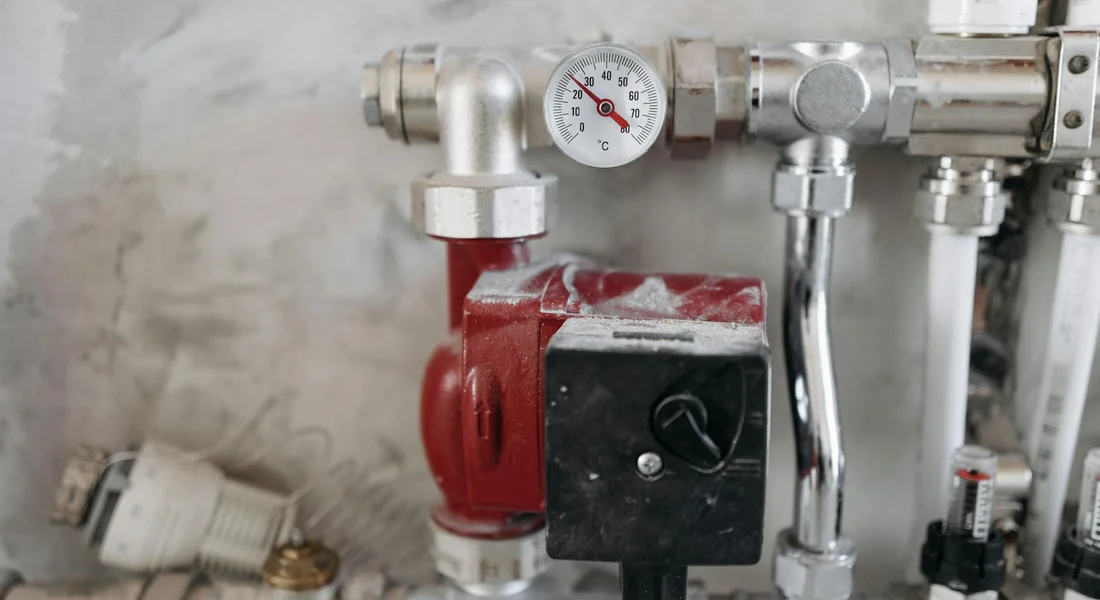
Getting the wrong pump is expensive. You waste money upfront and burn out the motor later. The goal is a pump that meets your home’s demand without overworking your well. Follow these three steps.
Step 1: Check Your Well Log
Find your well’s construction report. This log tells you two critical numbers: the well depth and the static water level. More importantly, it lists the well yield in gallons per minute (GPM). This is your well’s maximum safe production rate. Your pump’s output should never exceed your well’s tested yield. If you don’t have the log, contact your local health department or the original driller.
Step 2: Calculate Your Home’s Peak Demand
You need to know how much water your household uses at its busiest moment. Add up the flow rates (in GPM) of all fixtures that could run simultaneously. A good rule for a standard home is to plan for 7-10 GPM.
- Shower: 2.0 – 2.5 GPM
- Faucet: 1.0 – 1.5 GPM
- Toilet: 1.6 – 3.0 GPM (per flush)
- Washing Machine: 3.0 – 5.0 GPM
Your pump’s GPM rating should match or slightly exceed your calculated peak demand, but must stay under your well’s yield. Typical residential well pump GPM rates generally fall in the 5–15 GPM range. This context helps you size the pump without risking the well’s yield.
Step 3: Determine Total Dynamic Head (TDH)
This is the total “lift” or pressure the pump must create. It’s not just well depth. Think of it as the total resistance the pump must overcome to push water to your faucet. You calculate it in feet, then convert to PSI (every 2.31 feet of head equals 1 PSI).
- Vertical Lift: Distance from the pump setting depth to the pressure tank.
- Friction Loss: Resistance in the pipe (longer/smaller pipes have more loss).
- Required Pressure: Your desired pressure at the tank (e.g., 40/60 PSI switch means the pump must provide 60 PSI, or about 139 feet of head).
Add Vertical Lift + Friction Loss + Required Pressure Head to get your Total Dynamic Head. Pump performance charts show which model can deliver your needed GPM at that specific TDH.
Real Life Example: A 200-Foot Well, 3-Bathroom House
Let’s size a system. Your well is 200 feet deep, static water level is 50 feet down, and the tested yield is 10 GPM. The house needs about 9 GPM peak flow.
- Pump Setting: 180 feet down (20 feet above well bottom).
- Vertical Lift: 180 ft (to pump) + 30 ft (to tank above ground) = 210 feet.
- Friction Loss: For 1-1/4″ pipe, ~15 feet of loss.
- Required Pressure: 60 PSI x 2.31 = 139 feet.
- Total Dynamic Head: 210 + 15 + 139 = 364 feet.
You’d look for a 3/4 HP or 1 HP submersible pump that can deliver about 9-10 GPM at 364 feet of TDH. Always choose a pump whose performance curve meets your GPM at your exact TDH.
Code & Compliance Check
Pump installation and wellhead sealing are governed by local plumbing codes (IPC or UPC) and often stricter state or county well regulations. These rules cover proper venting, contamination prevention, and electrical connections. A licensed pro will know these codes. Failing to comply can violate your home insurance and create health hazards.
The Biggest Mistake: Over-Sizing for a Low-Yield Well
Putting a 20 GPM pump on a 5 GPM well is a disaster. The pump will pull water faster than the well can recharge. It will run “dry,” overheat, and burn out in short order. Your pump’s capacity must respect your well’s recharge rate above all else. A smaller, correctly sized pump lasts decades. A big one lasts a season.
Installation and When to Call the Pros
You have the right pump. Now you need to get it into the ground correctly. This is heavy, precise, and sometimes dangerous work.
Tools and Parts You’ll Need
- Submersible pump (correct HP/GPM)
- Rolls of drop pipe (schedule 80 PVC or polyethylene)
- Submersible pump cable (correct gauge & length)
- Stainless steel pipe clamps
- Torque arrestor (prevents pump spin from twisting wires)
- Safety rope (rated for 5x pump weight)
- Pipe thread sealant (rated for potable water)
- Control box (if required by pump motor)
- Well seal or sanitary cap
The General Process
This is the sequence a professional follows. It helps you understand the job.
- Assemble the pump: connect the check valve, pipe, torque arrestor, and wire with waterproof splices.
- Lower the pump slowly into the well, guiding it to avoid hitting the casing.
- Secure each section of drop pipe as you go, using clamps at every joint.
- Attach the safety rope separately from the pipe and electrical cable.
- Set the pump at the predetermined depth and secure the pipe at the wellhead.
- Connect the wiring to the control box and pressure switch in the house.
- Prime the system, check for leaks, and start the pump to test pressure and flow.
The wiring and startup are critical phases where mistakes can ruin the pump or create shock hazards.
The DIY vs. Pro Verdict
Be realistic about your skills. A homeowner can handle site prep and maybe assembling pipe sections on the ground.
You must hire a licensed well or pump professional for the core work. Their role is non-negotiable for four reasons:
- Pulling the Old Pump: This requires a heavy-duty truck-mounted derrick. Doing it by hand is unsafe and nearly impossible.
- Setting the Exact Depth: A pro knows how to avoid setting the pump in sand or sediment based on your well log.
- Electrical Connections: They will correctly size the wiring, make waterproof splices, and hook up the control box to prevent motor failure.
- System Startup and Testing: They will check amp draw, pressure buildup, and cycle times to ensure everything runs correctly from the first minute.
Getting this right is about long-term water security. A properly sized and installed submersible pump is a set-it-and-forget-it piece of your home’s infrastructure. It should deliver reliable water for 15 to 25 years. The investment in correct sizing and professional installation pays off every time you turn on the tap, especially considering the lifespan and depreciation of rental well pumps.
Common Questions
My pressure is set to 40/60. Is that always the right setting?
It’s a great starting point for most single-story homes. However, if you have multiple bathrooms or a second floor, you might need a 50/70 setting for stronger, consistent flow. Always consult your pump’s performance chart to ensure it can achieve the higher shut-off pressure combined with your well depth.
Why does my generator struggle to start my well pump?
Well pumps have a massive starting wattage surge, often 3-5 times their running wattage. Your generator’s surge (or starting) power rating must cover this spike, not just the running watts. Undersizing it will cause the pump to fail to start or trip the generator. For quick sizing, a well pump generator size guide can help you match surge and running watts to your pump’s requirements.
How do I know if my pump is too powerful for my well?
The biggest red flag is air sputtering from your faucets, which means the pump is drawing in air as it outpaces the well’s recharge. To prevent this, your pump’s Gallons Per Minute (GPM) output must never exceed the well’s tested sustainable yield, which is found on your well log.
What shortens a submersible pump’s lifespan the most?
Rapid cycling-constantly turning on and off every minute or two-is the primary killer. This is usually caused by a waterlogged pressure tank or a pressure switch issue, not the pump itself. It creates immense heat and wear on the motor. Have your tank’s air charge checked annually.
My pipes bang when the pump shuts off. Is that a pump problem?
Usually not. That water hammer is caused by a sudden stop in water flow. It often indicates a missing or failed check valve on the pump discharge line, allowing water to surge backward. A pro can install a water hammer arrestor at the pressure tank to cushion the shock.
Matching Your Pump to Your Home’s Needs
Always start by checking your well’s static water level and recovery rate before you even look at pump specs. Your pump’s power and pressure must satisfy your peak household demand, not just its average daily use.
Bob McArthur
Bob is a an HVAC and plumbing industry veteran. He has professionally helped homeowners resolve issues around water softeners, heaters and all things related to water systems and plumbing around their homes. His trusted advice has helped countless of his clients save time, money and effort in home water systems maintenance and he now here to help you and give you first hand actionable advice. In his spare time, Bob also reviews home water systems such as tankless heaters, water softeners etc and helps home owners make the best choice for their dwelling. He lives around the Detroit area and occasionally consults on residential and commercial projects. Feel free to reach out to him via the contact us form.